Is This Even Dungeons & Dragons?
Rodney Hampton
- 12 minutes read - 2367 wordsNaval gazing at naval warfare in D&D. Also, the fastest way to mop up excess liquidity in your campaign.
Introduction
In August 2022 I went down quite a rabbit hole trying to reconcile the OSE, Cook Expert, 1st edition DMG + PHB, 2nd edition DMG + PHB, CHAINMAIL, and original Dungeons & Dragons descriptions and pricing for all of the various ships, land transport types, and troop types….then boil it down to something simple, usable, and somewhat tied to historical references. I did make good progress, but then stopped developing this product (Heroes in Hulks) as other projects caught my interest.
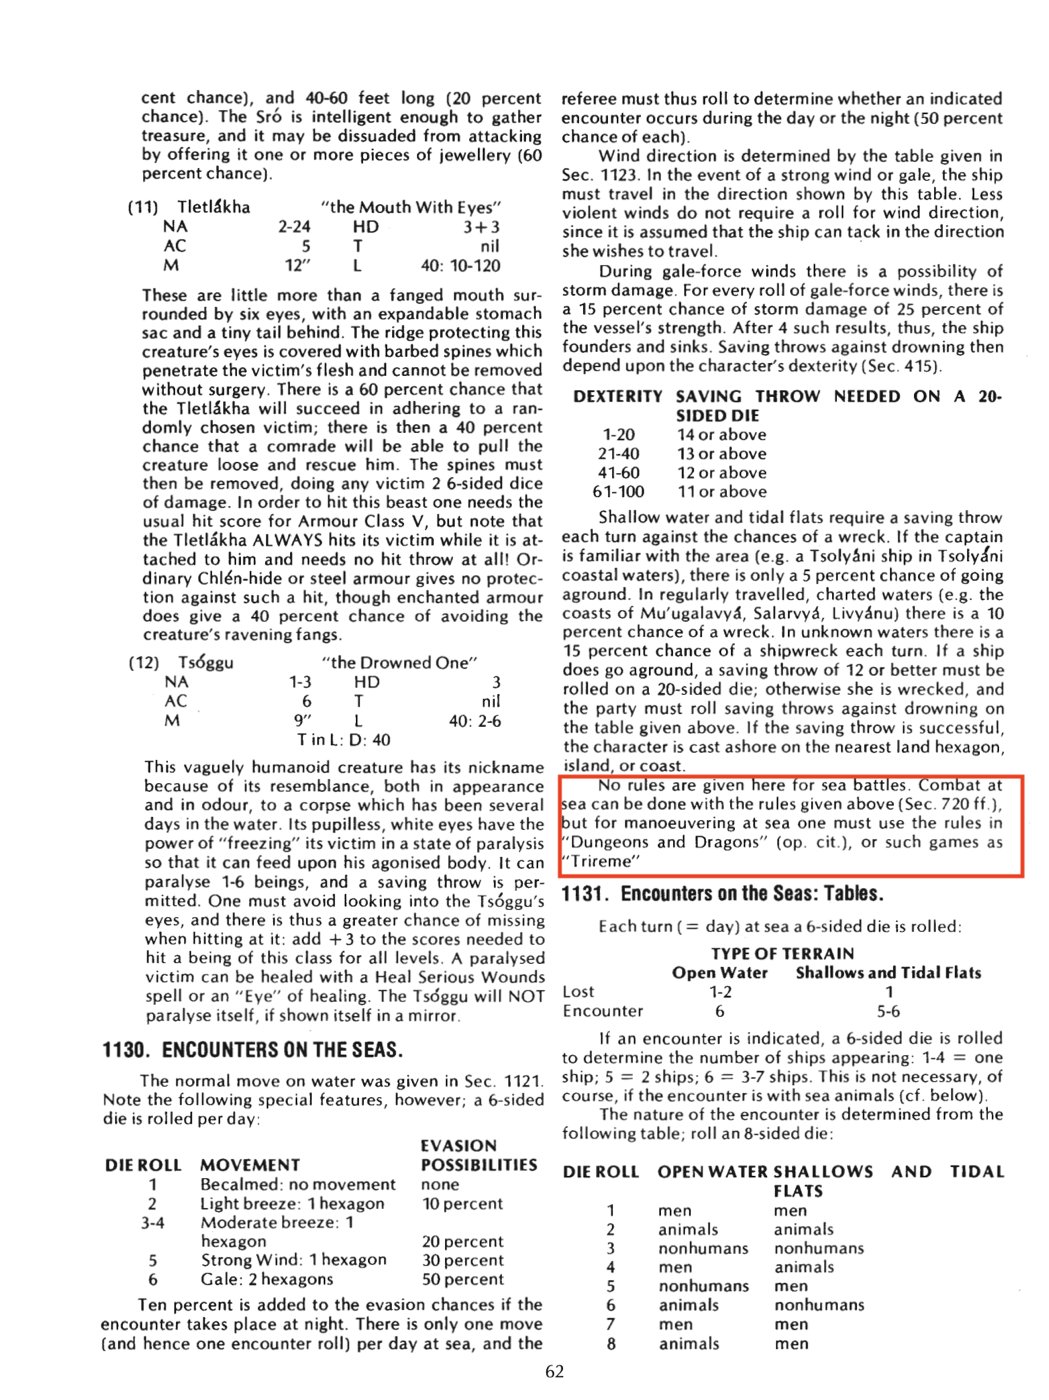
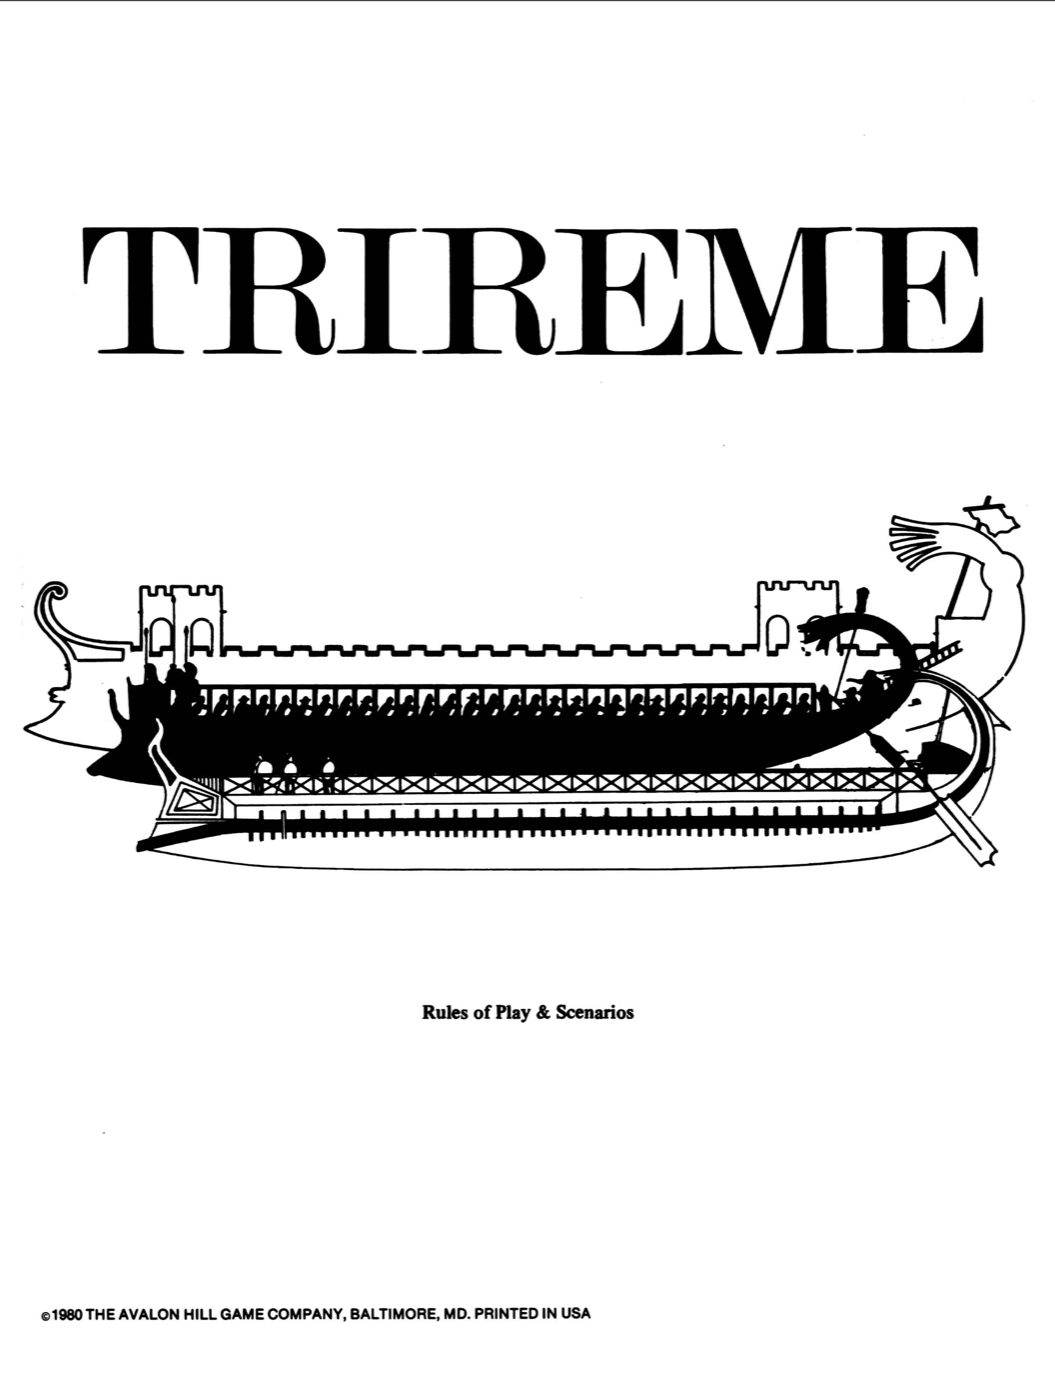
If you look at all of the naval rules spread between these sources and the Mystara Gazetteers for the Minrothad Guilds and Kingdom of Ierendi you could put together a heck of a strategic and also tactical naval wargame….though there are already readily available ancient naval wargames like Corvus and Naumachiae, those aren’t really aligned with the mechanics of early D&D/AD&D - especially when dealing with ships from the dark ages and medieval times. Interestingly, Empire of the Petal Throne (arguably the first TSR setting book for a fantasy RPG) points players at Avalon Hill’s Trireme to resolve naval combat.
OD&D and Naval Combat
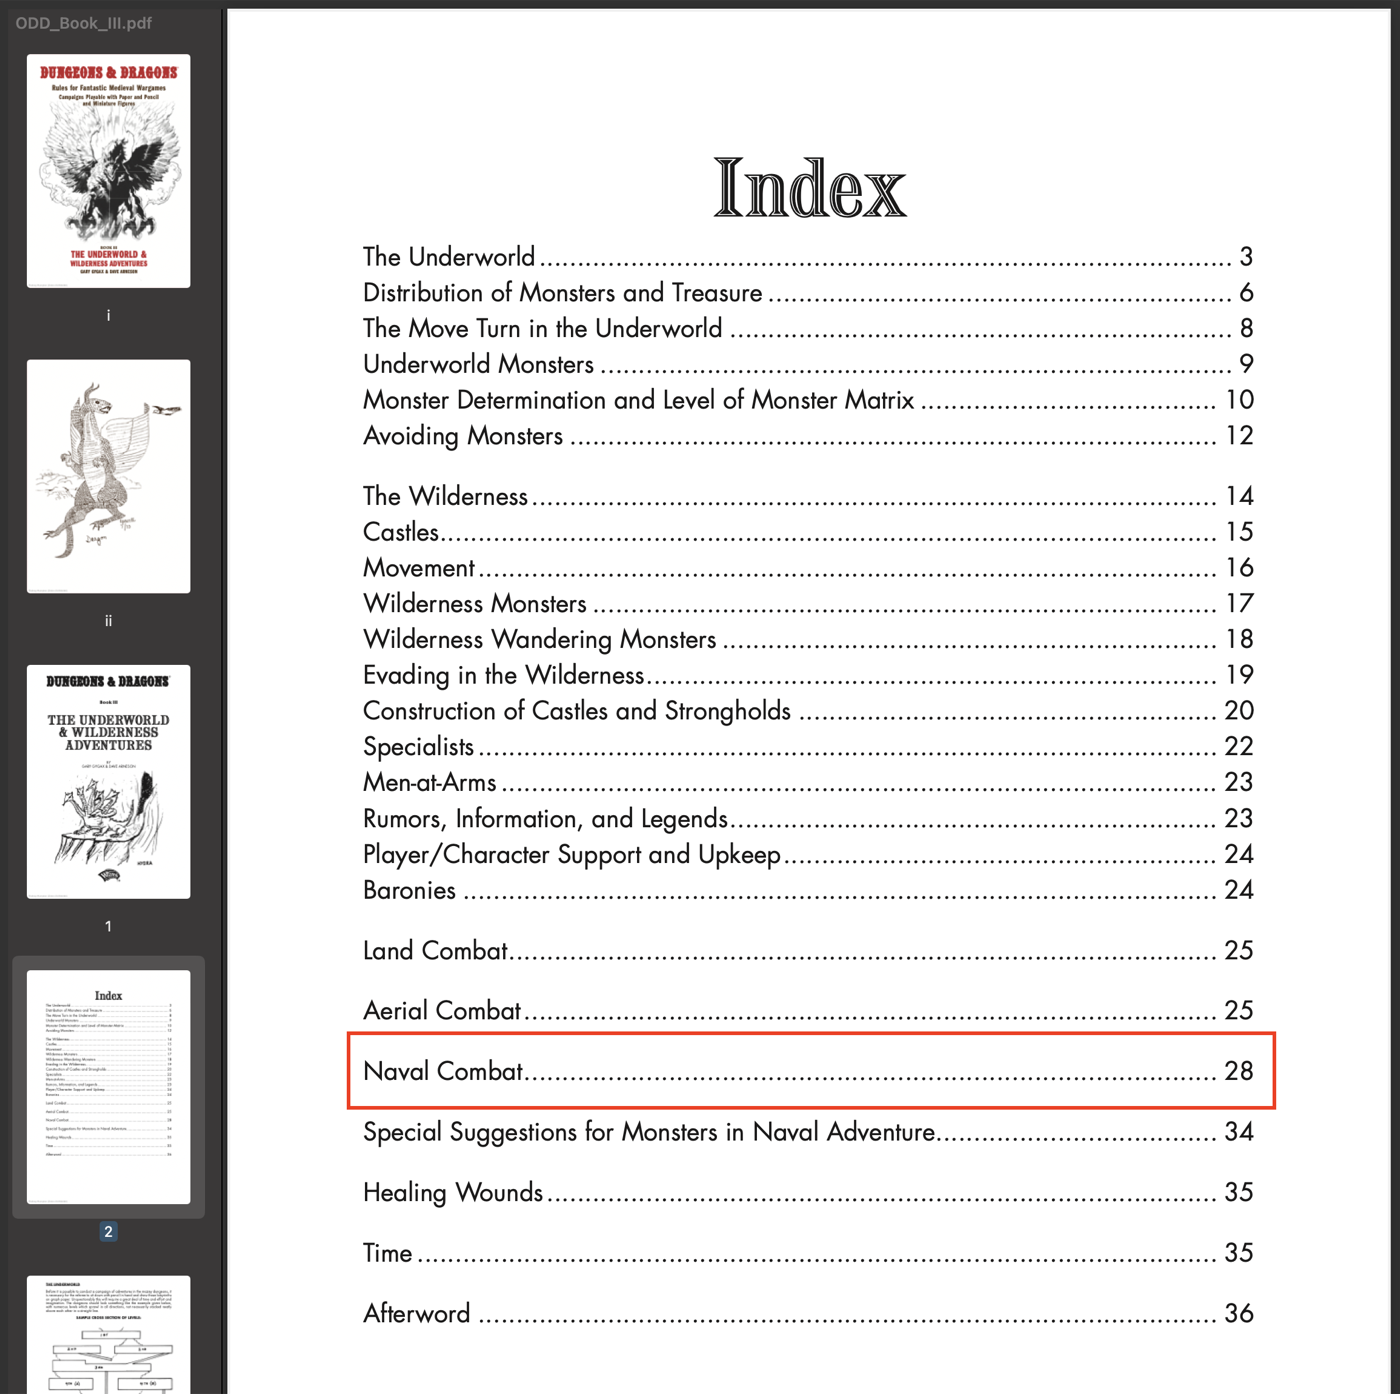
Over the last two years, me and my circle of gaming friends have spent a lot of time learning how to play Original Dungeons & Dragons (OD&D) using Chainmail to resolve combat. My interest in playing ALL of the OD&D rules as written prompted me to design a gaming scenario to try out the Naval Combat rules in LBB#3.
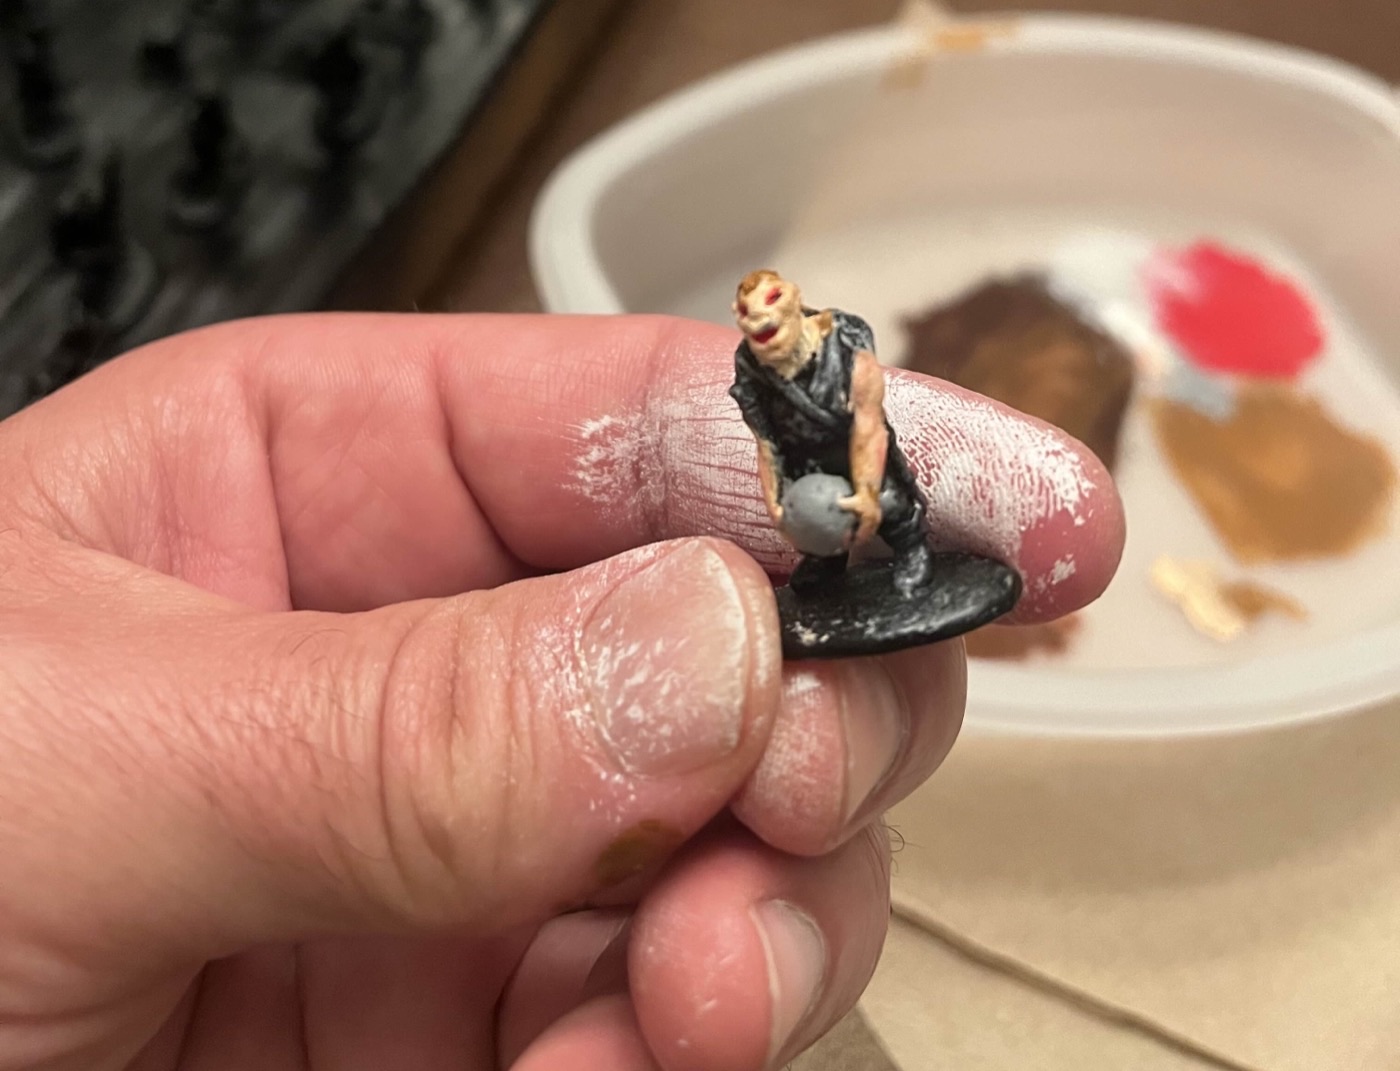
We played out the scenario on Saturday, August 23, 2025. I’ll write a full after action review (AAR) on that gaming session soon. For now, I want to zero in on the main finding from that 3-hour long game. Player D summed it up nicely: “If I have to play a naval wargame — which is dissatisfying to me — I would rather get to the resolution as quickly as possible so the amount of dissatisfaction is minimized.” Indeed, we could hardly get two small galleys into contact so that the boarding action could commence. The catapults at the fore of each vessel went unused. The black Seer and the Hill Giant on opposite ships caused 100% of the damage and casualties by trading fireballs and boulders. In the end, a morale failure wrapped things up.
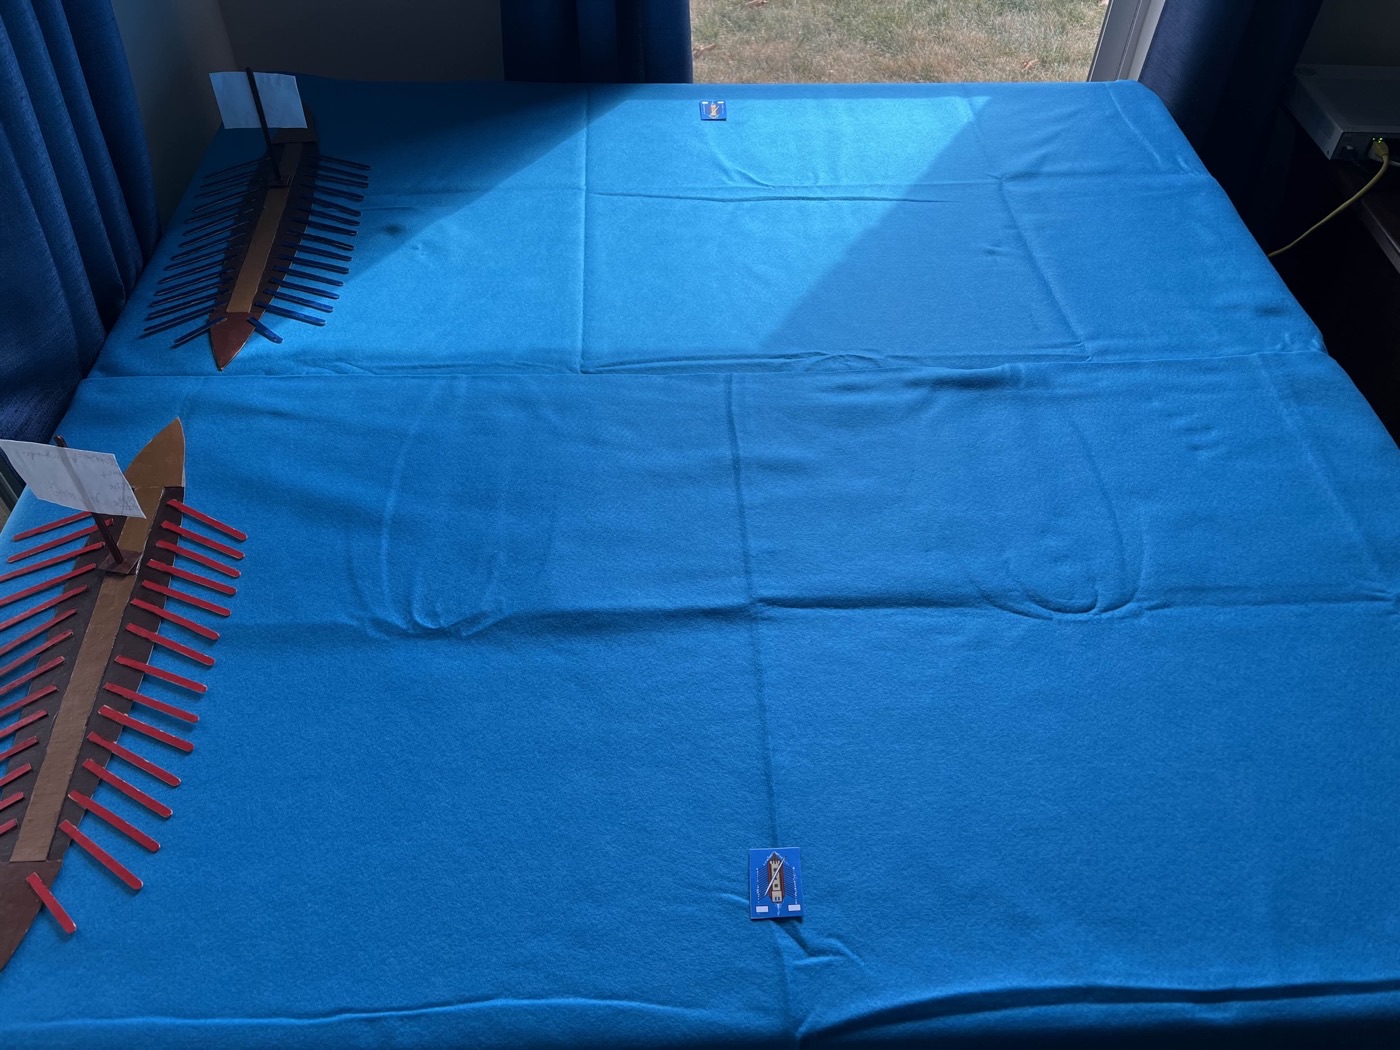
The experience was dissatisfying for me too. So I went back to the drawing board.
Other TSR Naval Combat Rules
The AD&D 1st edition DMG and the 1981/83 Expert rules by Cook and Mentzer all seem like they might do in a pinch. I will write about these in more detail after giving them a play through.
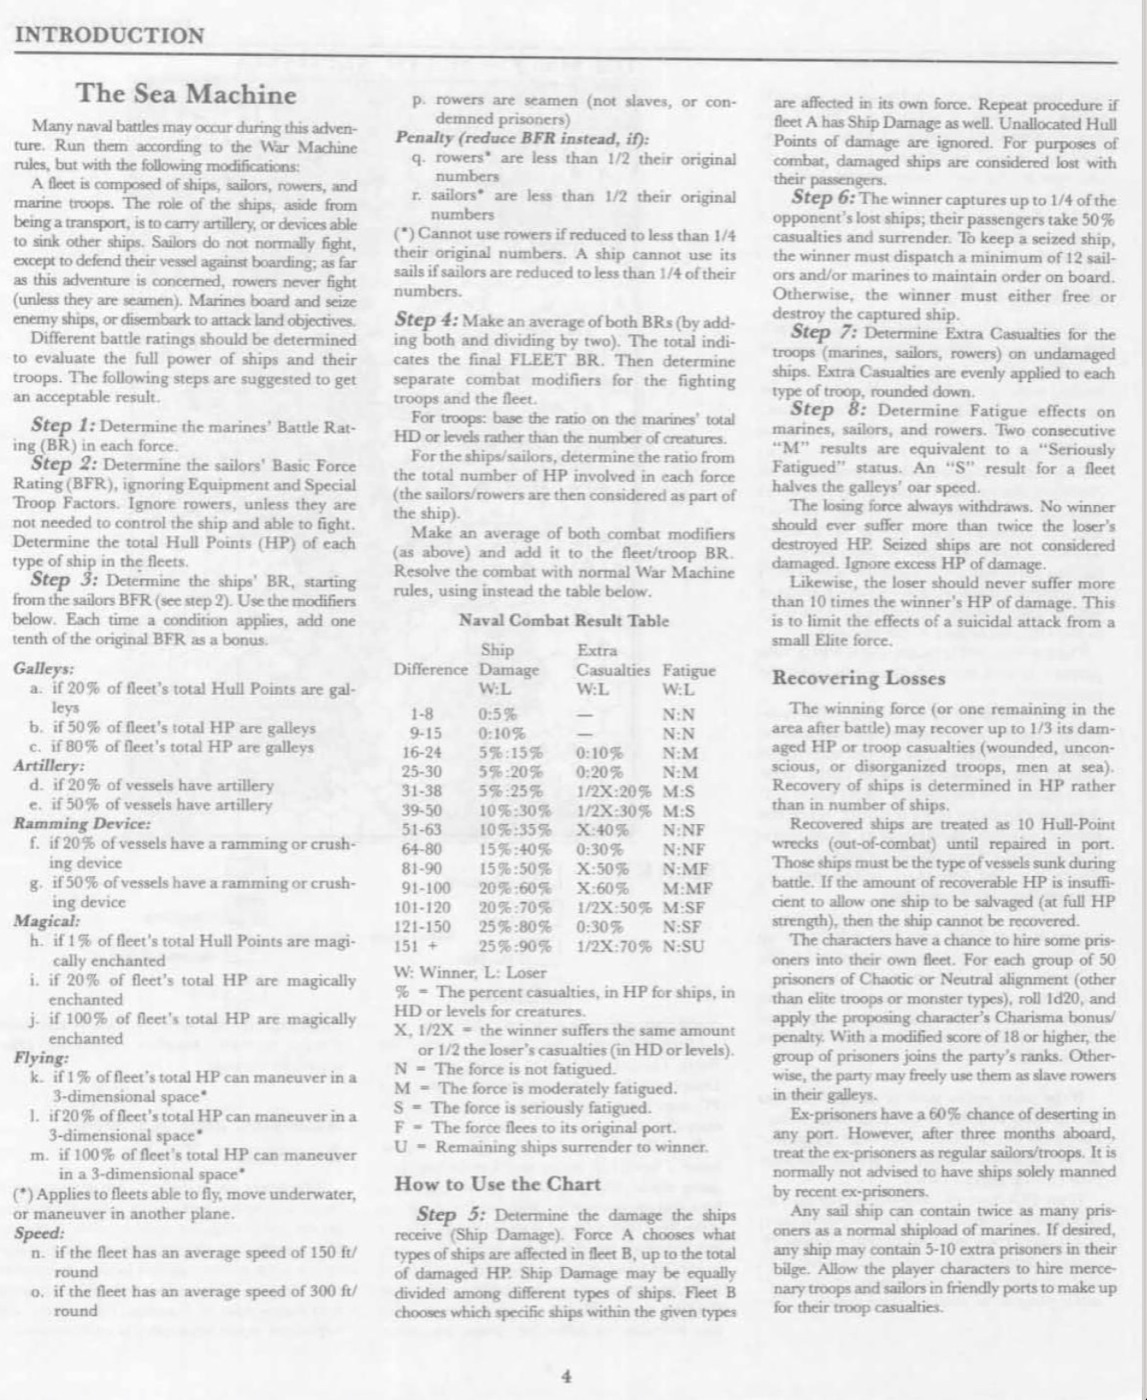
TSR also produced a module M1: Into the Maelstrom for master level players. Inside, there is an expansion of the War Machine system called Sea Machine. Like War Machine, this is a math-heavy solution to resolving combat. I find this kind of number crunching to be extremely tedious and unsatisfying. Besides, to use this I would have to re-learn War Machine as the rules are unintelligible without its parent product.
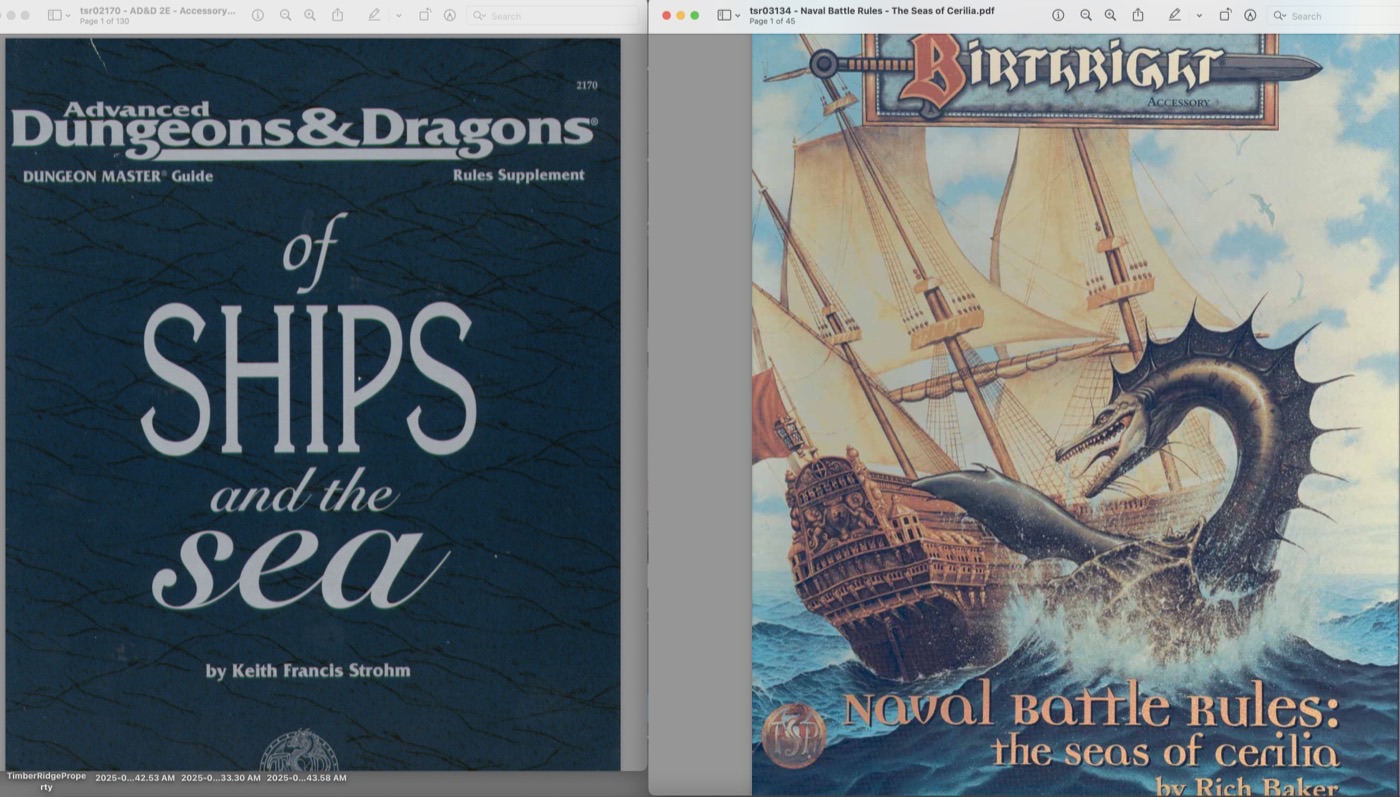
TSR also published a supplement for AD&D 2nd edition entitled of Ships and the Sea which has detailed rules for naval combat as well as Naval Battle Rules: The Seas of Cerilia for the Birthright system. The former seems far too likely to bog down in detail. The latter is more at the fleet level, and does not jibe with the OD&D, AD&D, and B/X lineage.
TSR’s Gazetteer books were published in the 1980s to flesh out the “Known World” setting for the B/X rules. Eventually, TSR would call this world Mystara. Gazetteer 4: The Kingdom of Ierendi has a short and sweet set of naval rules that lean more toward fleet action than focusing on a single ship. Nonetheless, these are the ones that I decided to play test first.
Why am I doing this again?
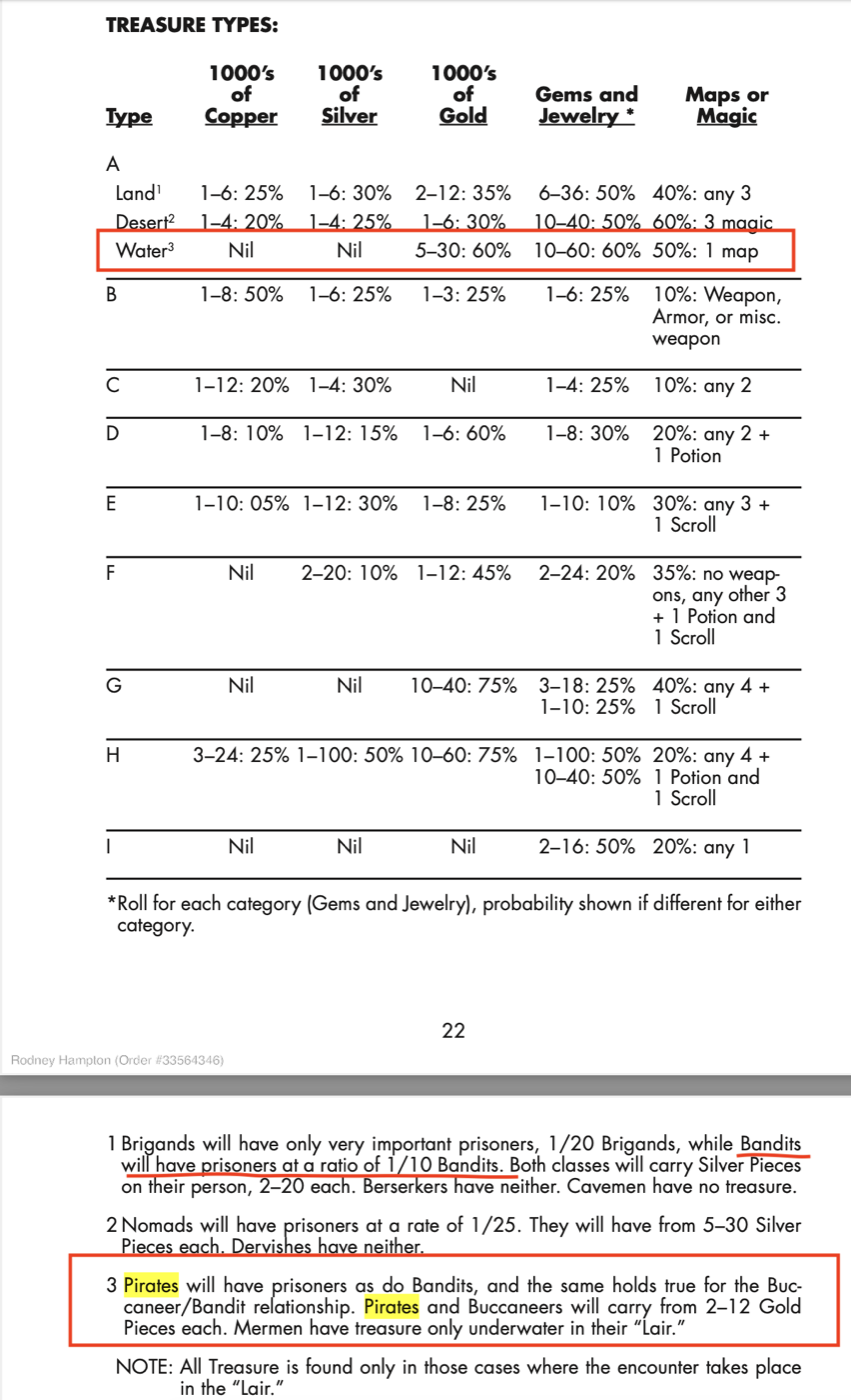
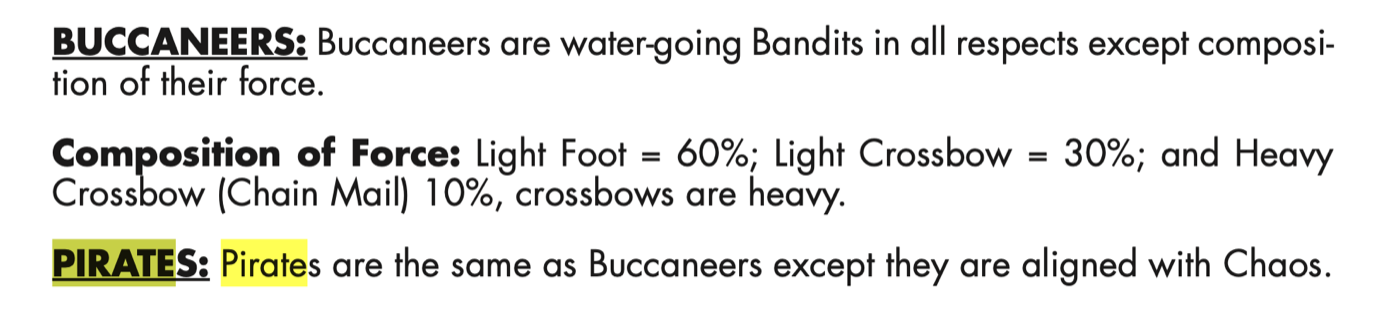
If you’re still with me, pop open another browser window and listen to this interview with Gary Gygax. Gygax played the Wizard Mordenkainen. He tells a few tales from 15:23 - 17:30. Pay attention at 16:21. Mordenkainen and his crew used to troll up and down the coast looking for pirates to rob. Also they knocked off Bandits too.
But why Pirates? Well, if you look at the OD&D “monster” description and the treasure table, it is clear how lucrative naval combat can be (provided that you win). The OD&D rules (LBB#3, p. 30) state that “A ship is captured when the morale of its crew breaks or when all defenders are dead or overboard.” How much is a ship worth? Per LBB#1, p. 14 a ship could be worth 5, 10, 20, or 30 thousand gold pieces each. High risk, high reward play should be encouraged!

On With The Play Test!
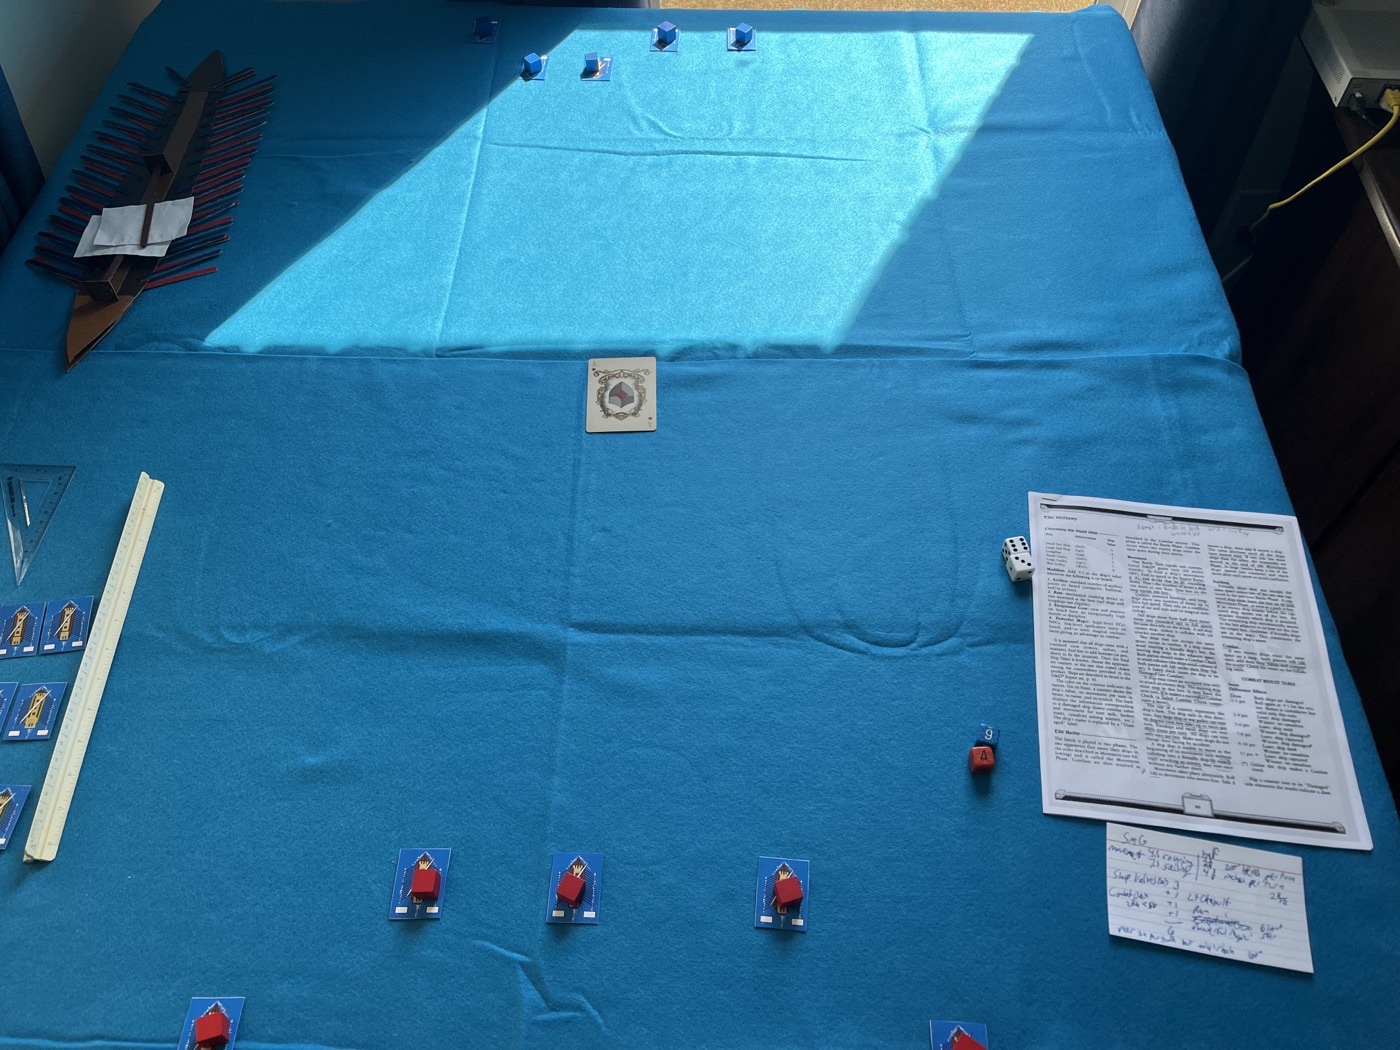
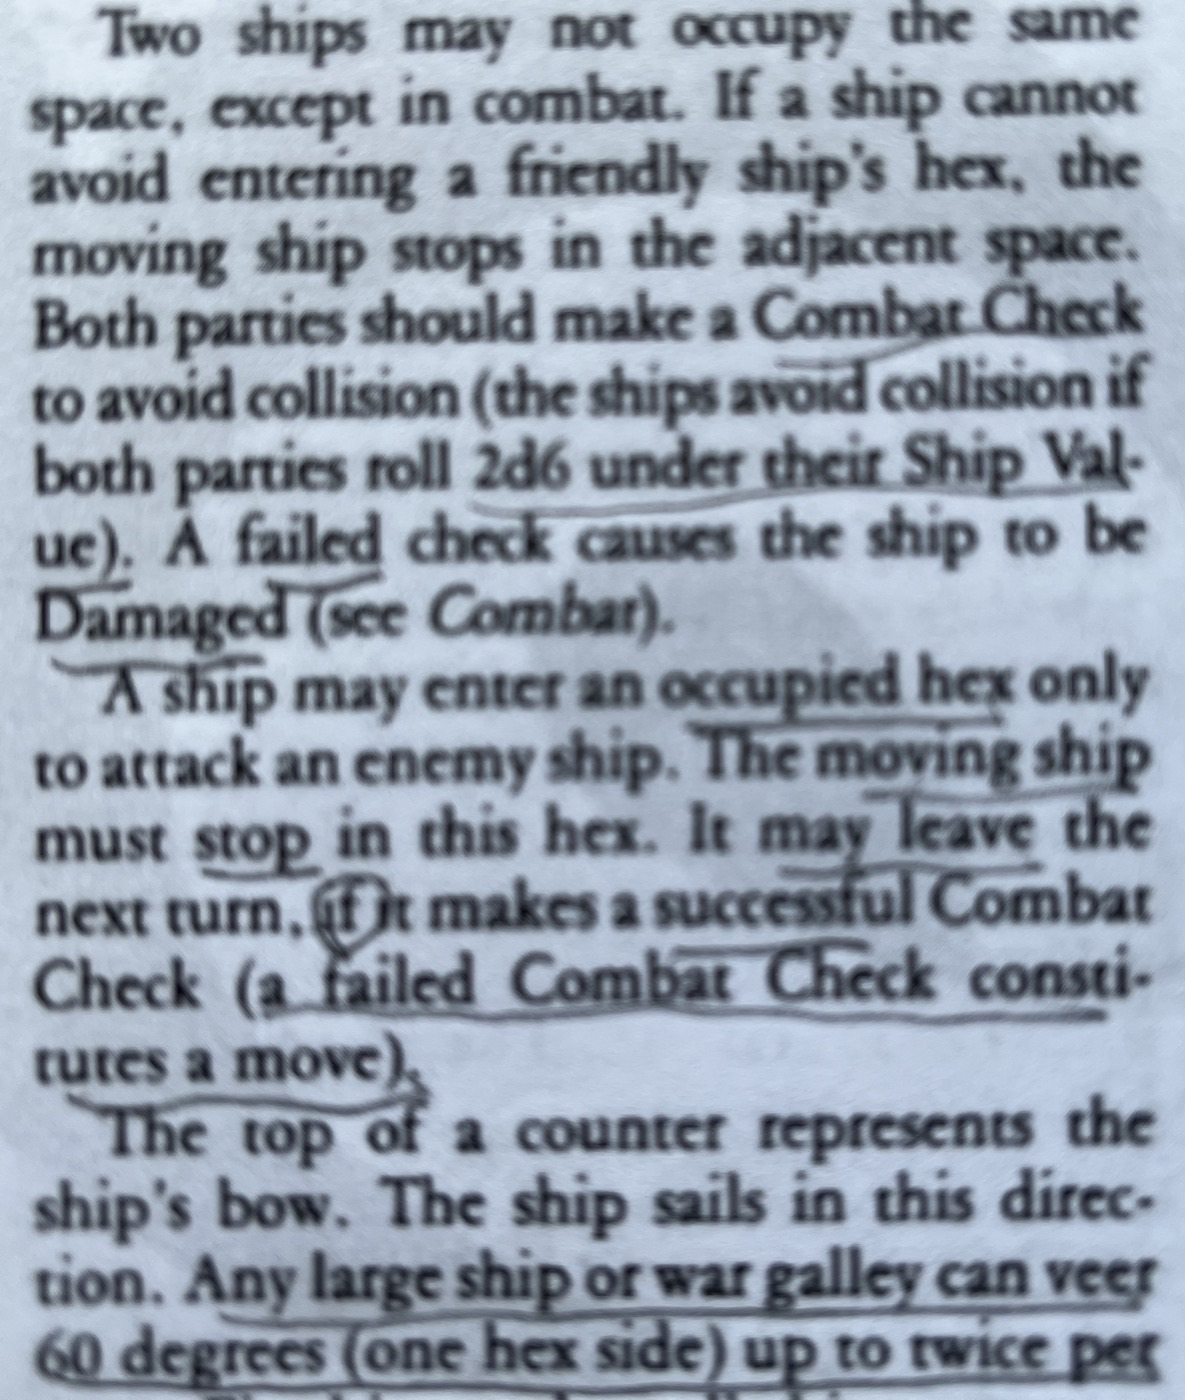
I set up a simple 5 ship versus 5 ship combat played out on a 4’ x 4’ table. All of the ships are small galleys (triaconters to be specific). The Kingdom of Ierendi rules don’t have any information about deployment zones or table size. That’s ok. The paper models that I am using are 1:600 (Geoff Curran’s paper minis are on WargameVault). I put blue and red blocks on top of them so they are easier for you (the audience) to spot who is who. The scale, per the rules, is 1 hex = 200 feet and one battle turn = 60 melee rounds. Time is pretty meaningless at this level of abstraction. Instead of using the hex map and counters, I am using a ruler so 1” will equal 200 feet which seems to be 1:1200 scale so my paper models are oversized. Instead of turning one hex face at a time, I simply allow the ships to turn up to 60 degrees at a time and measure that using a protractor. Easy peasy.
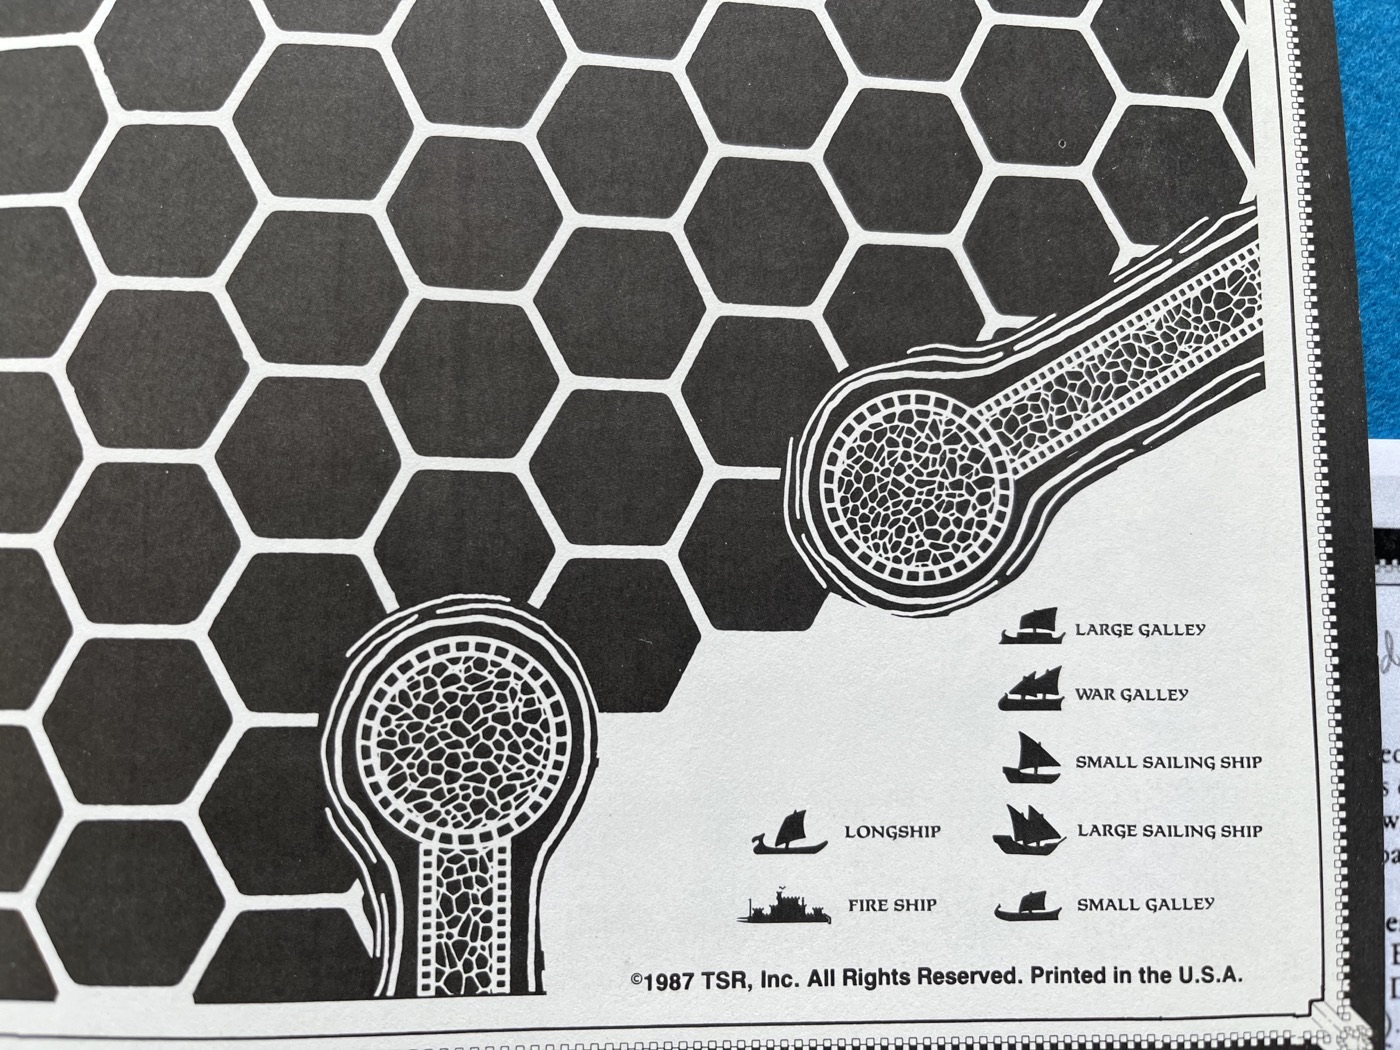
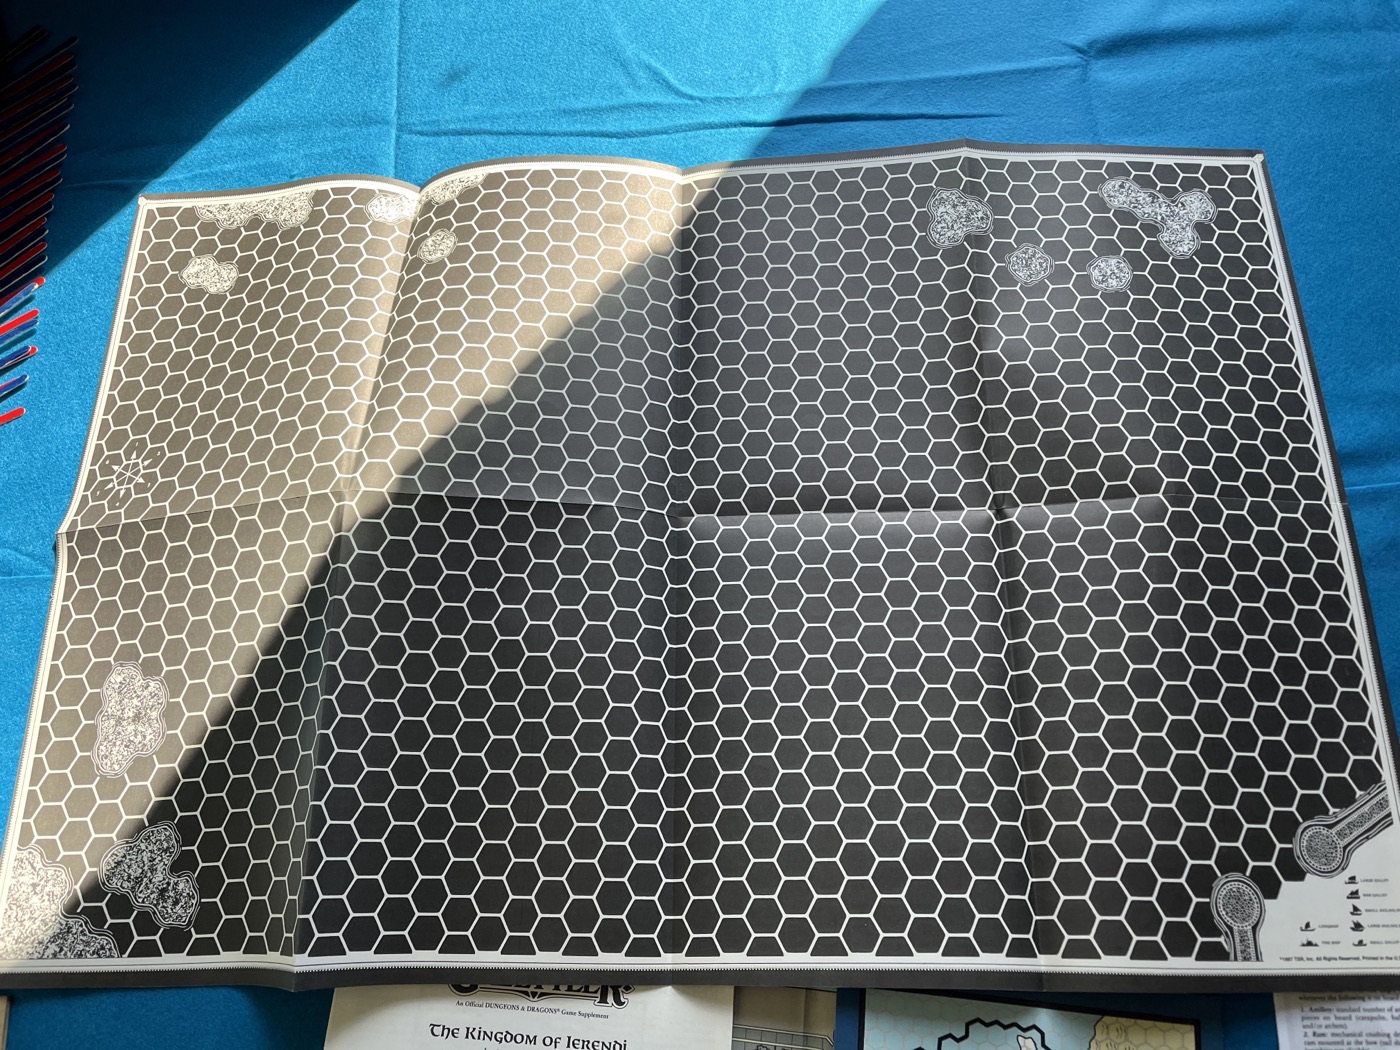
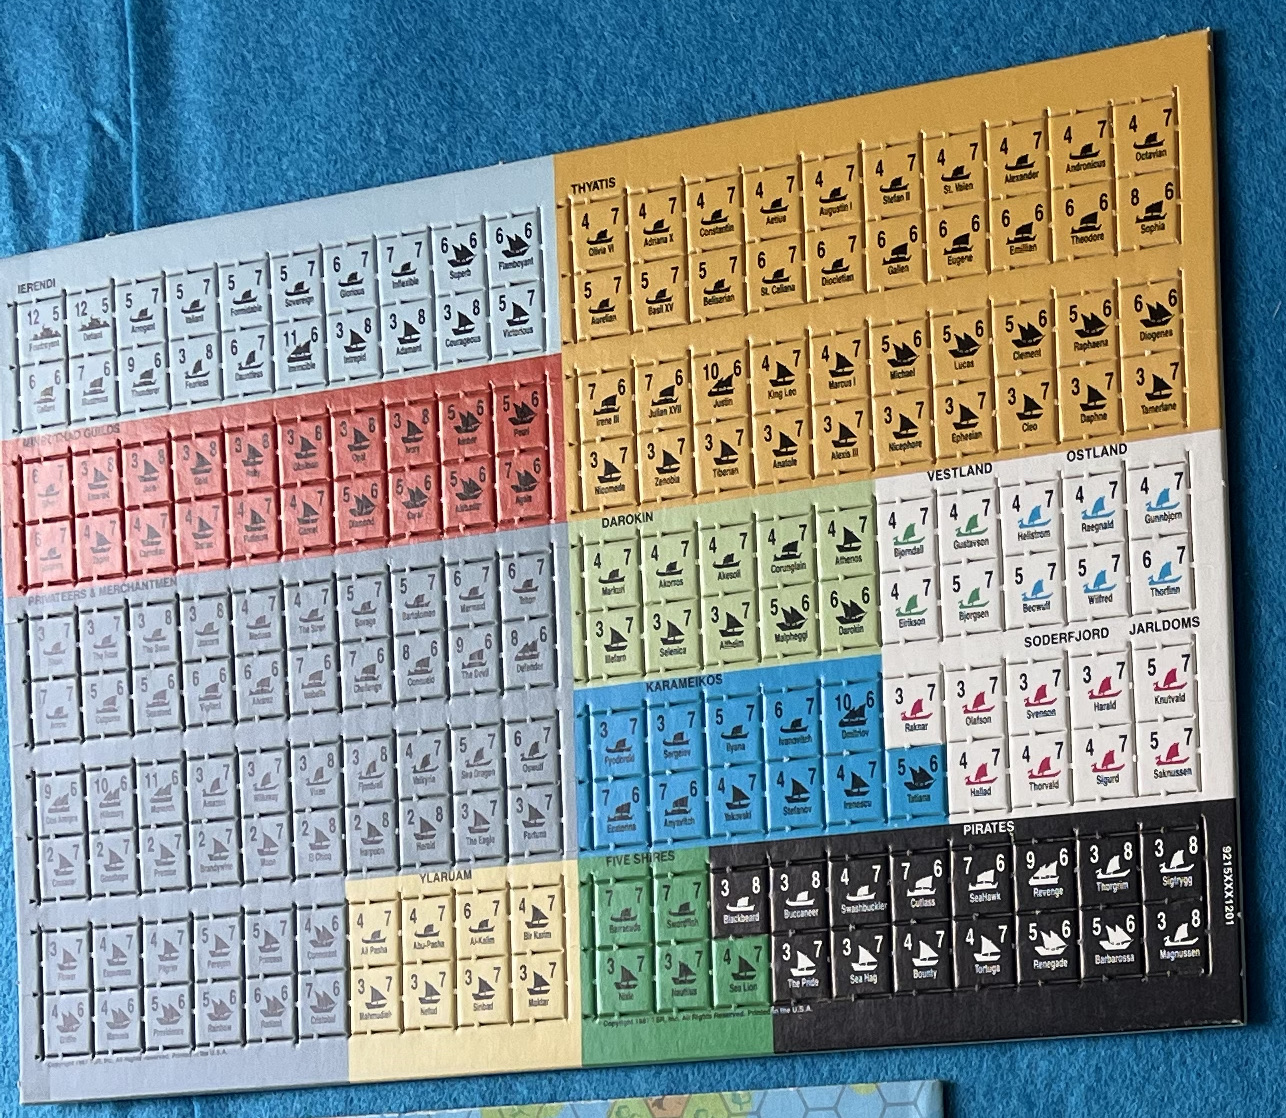
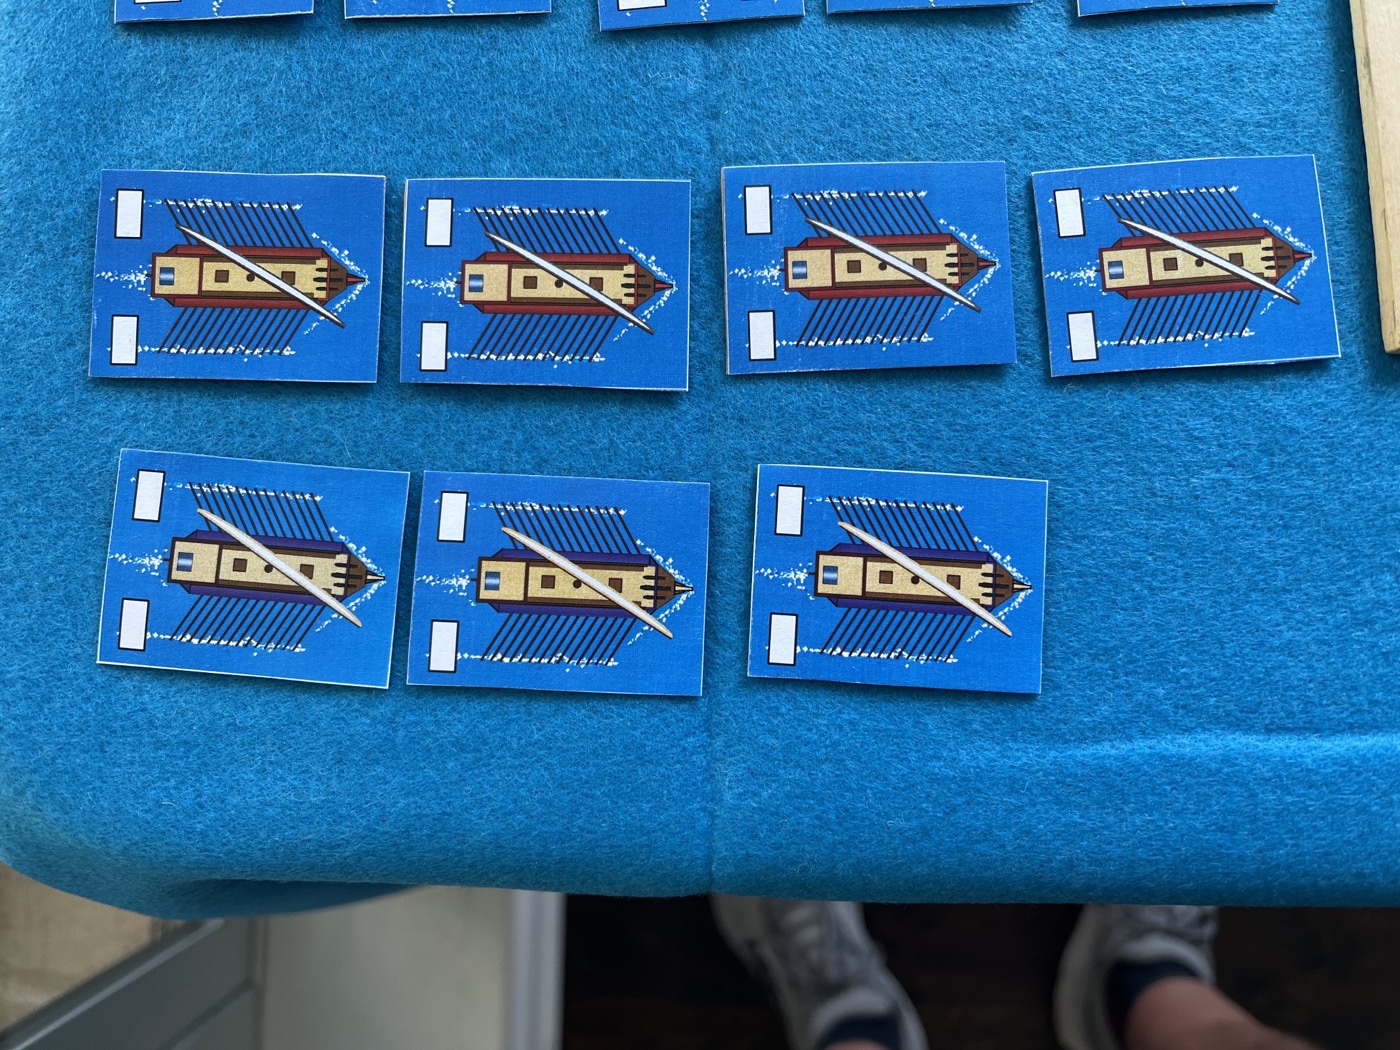
I hate to punch out the counters for this, and the hex map is not designed for the open sea. Besides that, the counters make it very hard to distinguish ship types at a glance.
Interpretations
These rules are meant to be played with the counters. Each counter has two numbers. The first is the Ship Value and the second is the movement rate (in hexes / inches per turn). The reverse side of each counter basically halves these numbers and is used when a ship is damaged. If a ship is damaged twice it is out of action. It doesn’t matter if a triaconter is up against a quinquereme . . . both can only be damaged one time. Of course, the quinquereme has a higher Ship Value to compensate. For regular ships from B/X the rules do give you a way to calculate the movement rate.
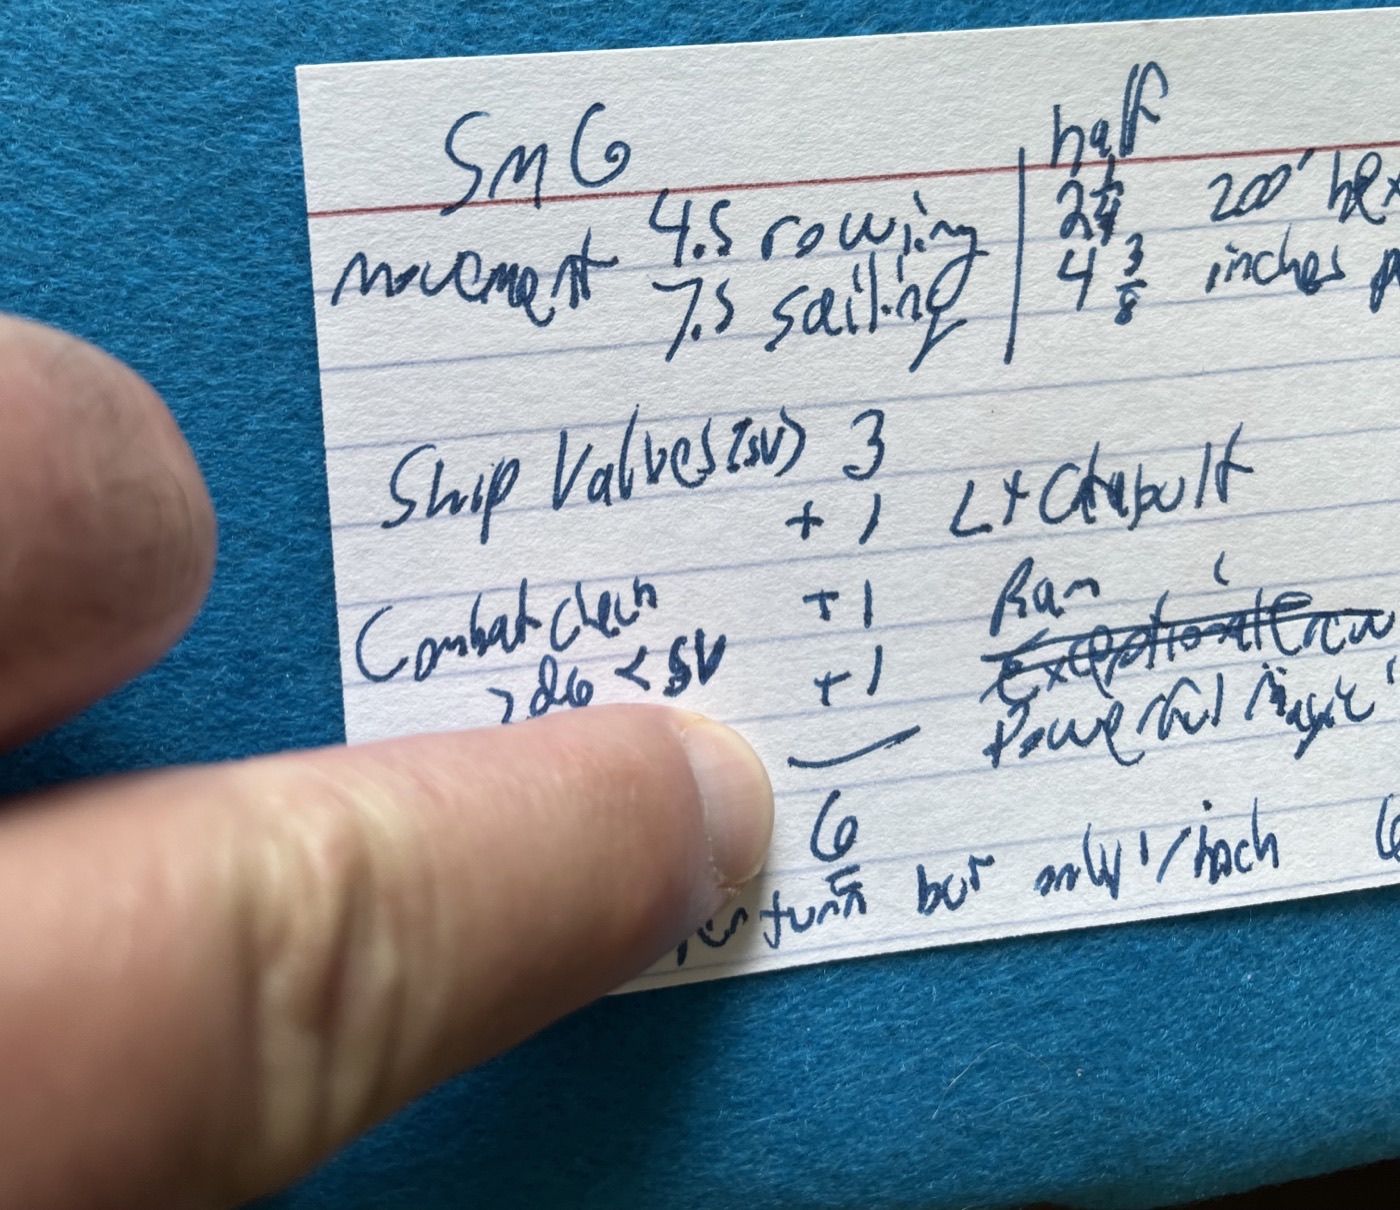
For all of my small galleys (SmG), the Ship Value was set at 6. Movement required a bit more interpretation since there are no rules for switching from sail to oars, shipping oars, stepping and unstepping the mast, etc. I decided that all of the ships would use the sailing value for this battle. I did not mind having half inch movement rates since I was using a ruler. I felt this was slightly more precise than rounding and later halving and rounding again when ships were damaged.
Movement to Contact
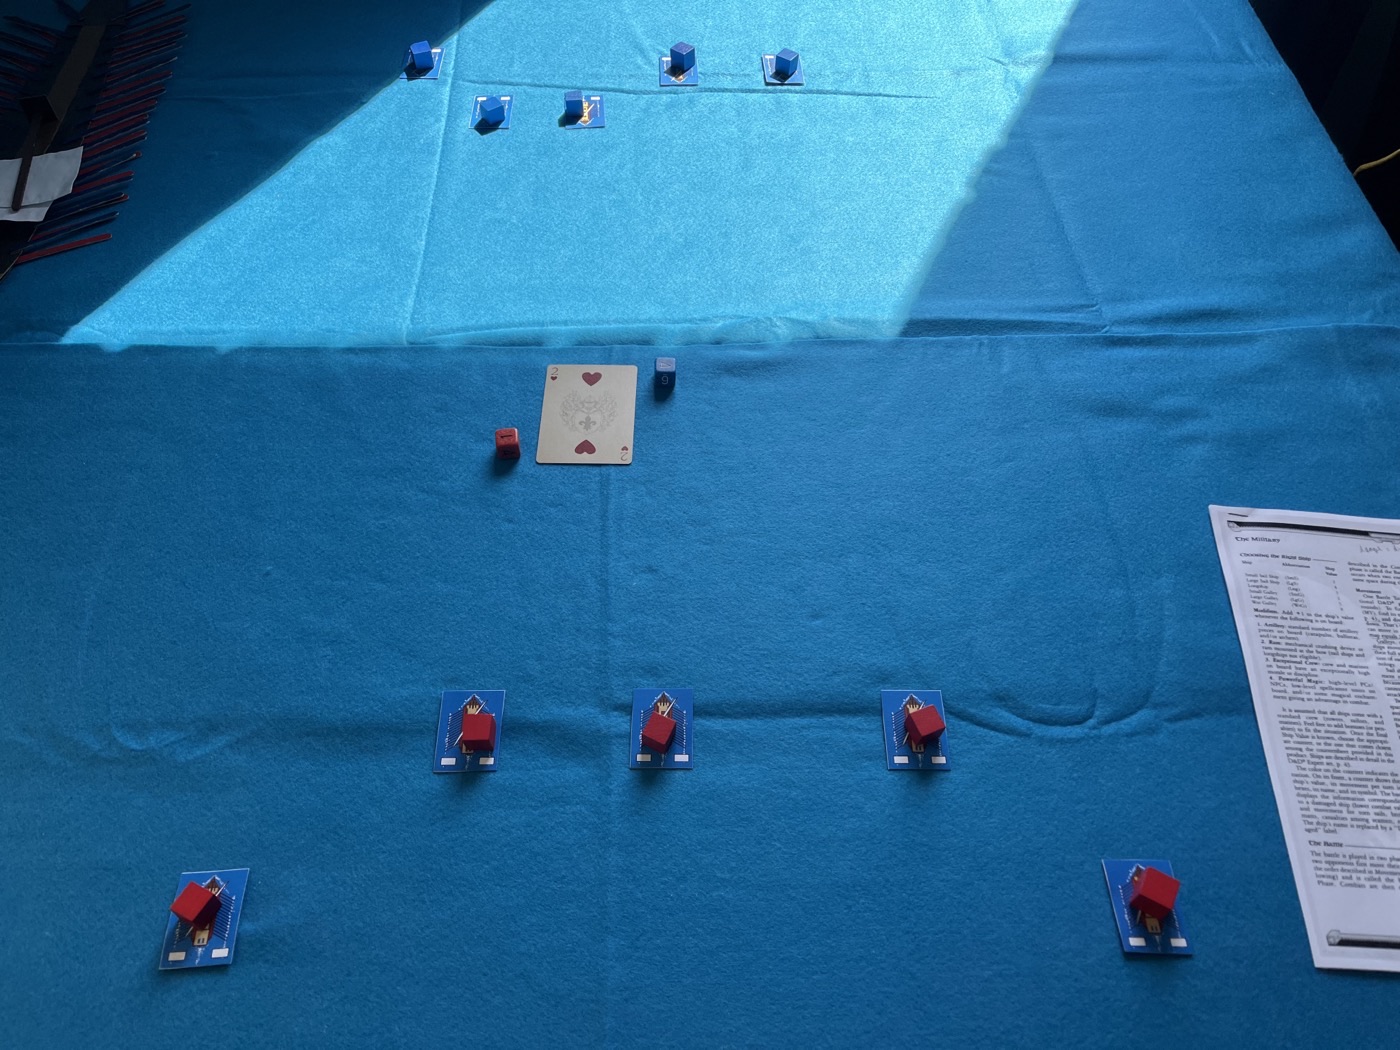
Turns 1, 2, and 3 were simply closing the distance between the two fleets. The rules say that a simple 1d6 roll decides who gets the first move. Sides move one ship at a time. If one side has more ships all of the remainder are moved en masse at the end of the movement phase. I don’t like this but it did not come up during this game.
First Clash
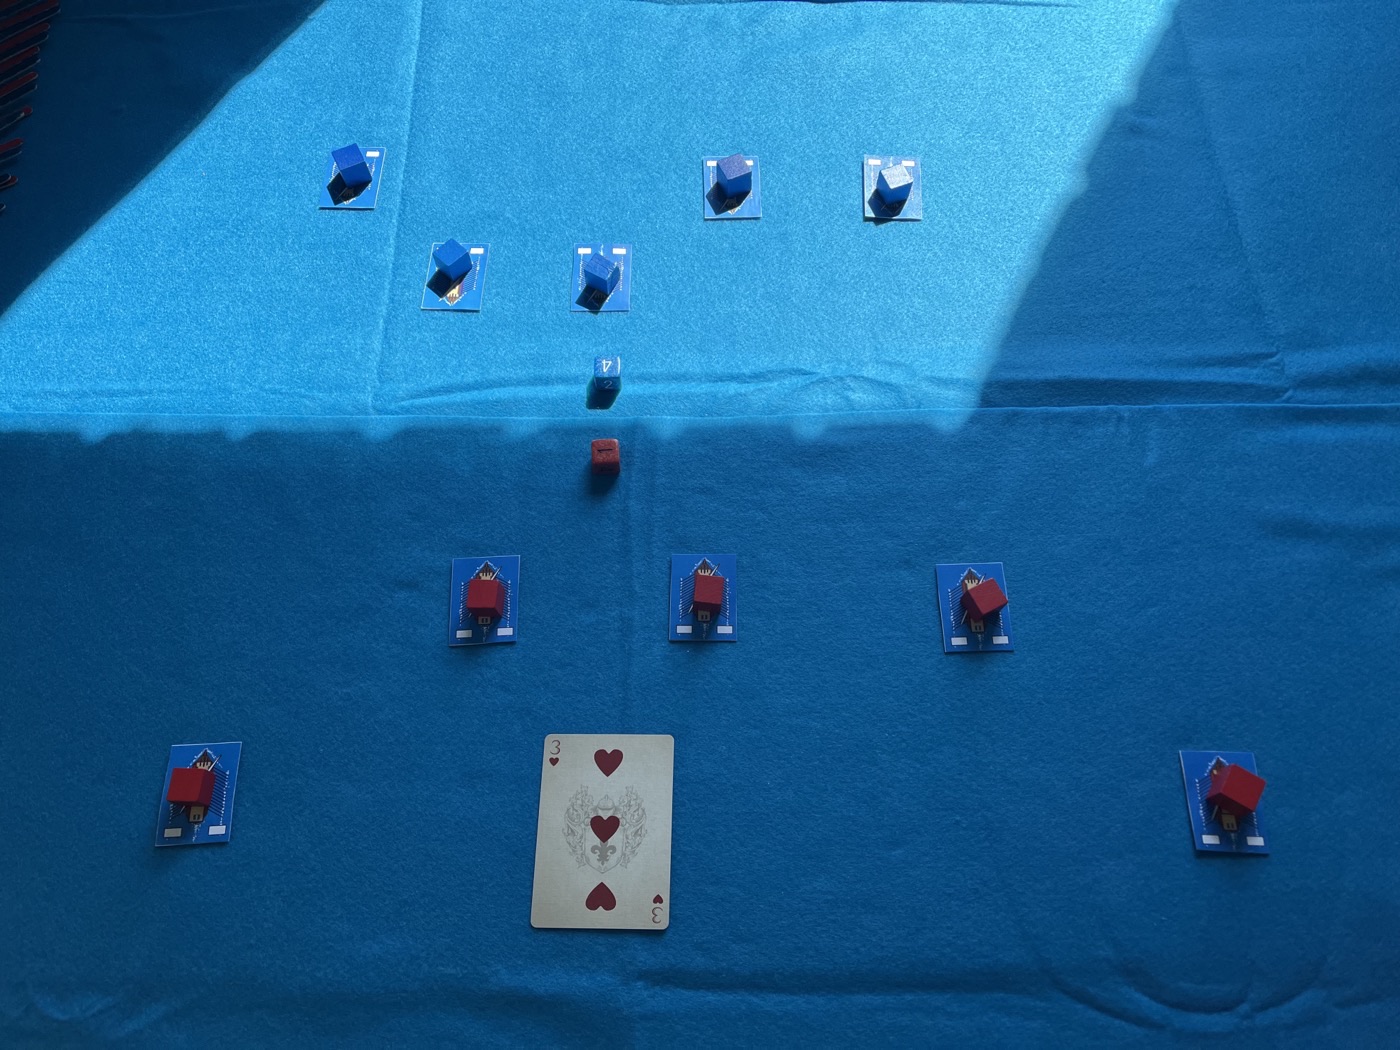
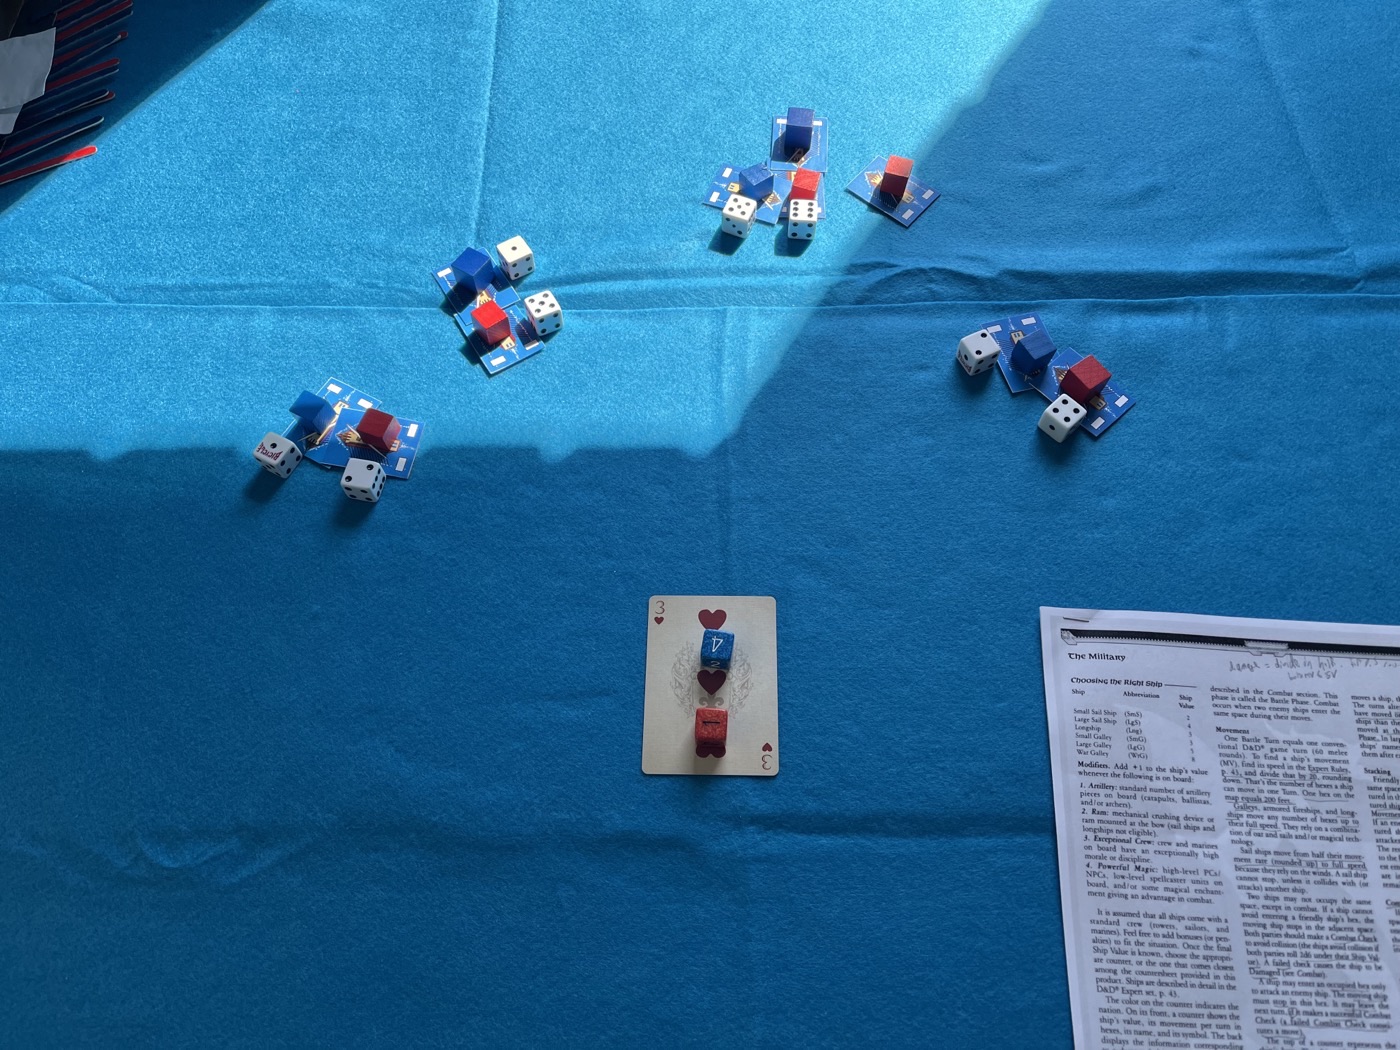
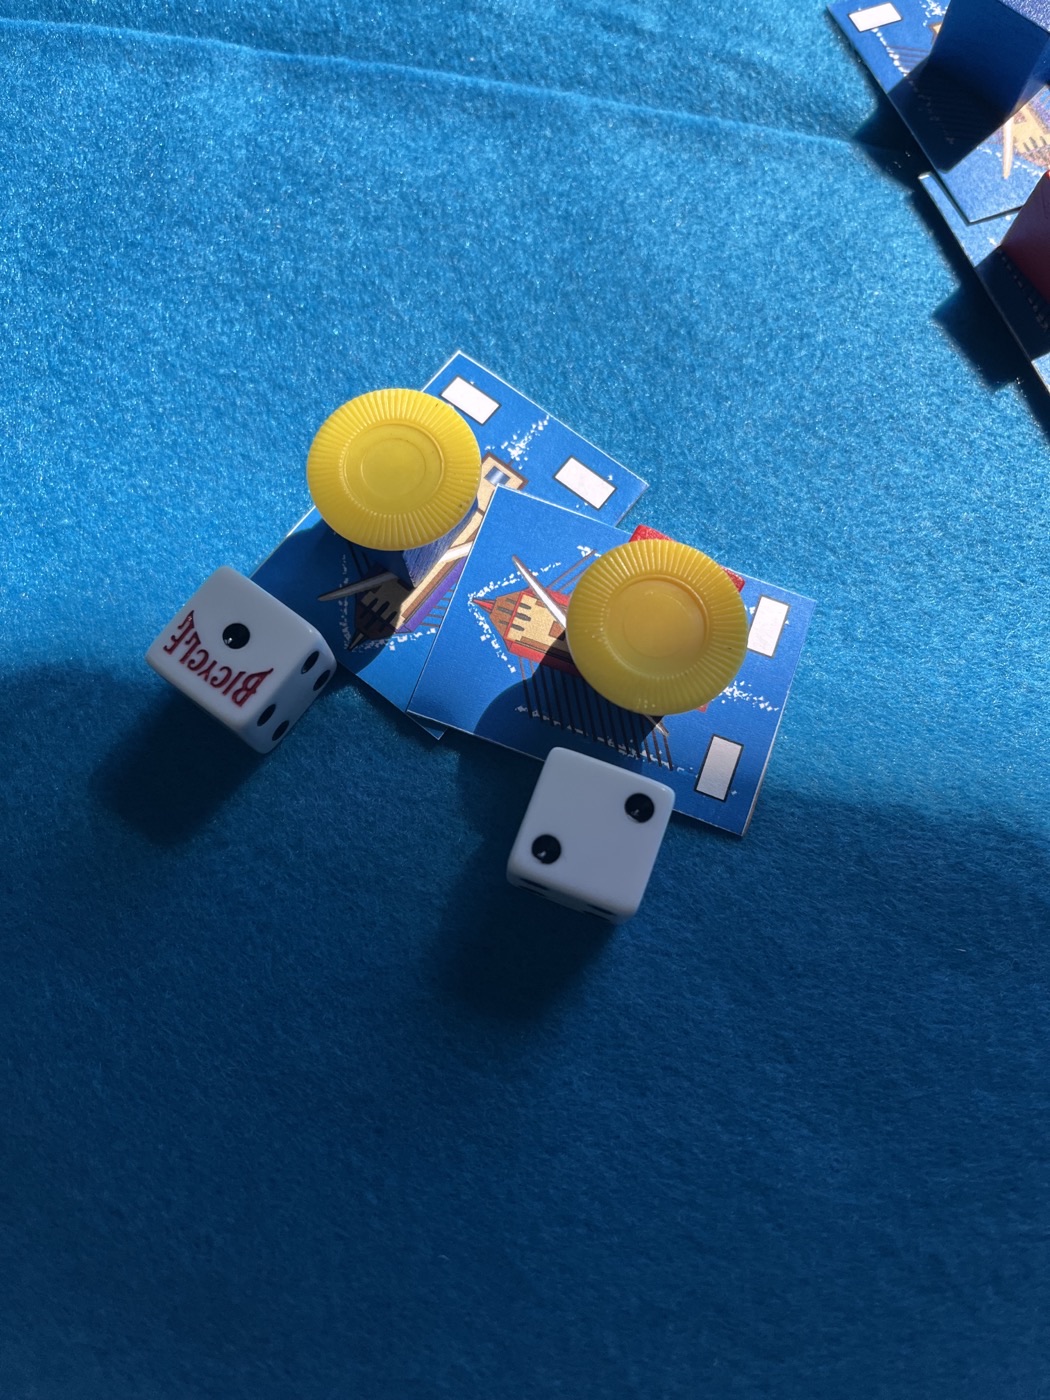
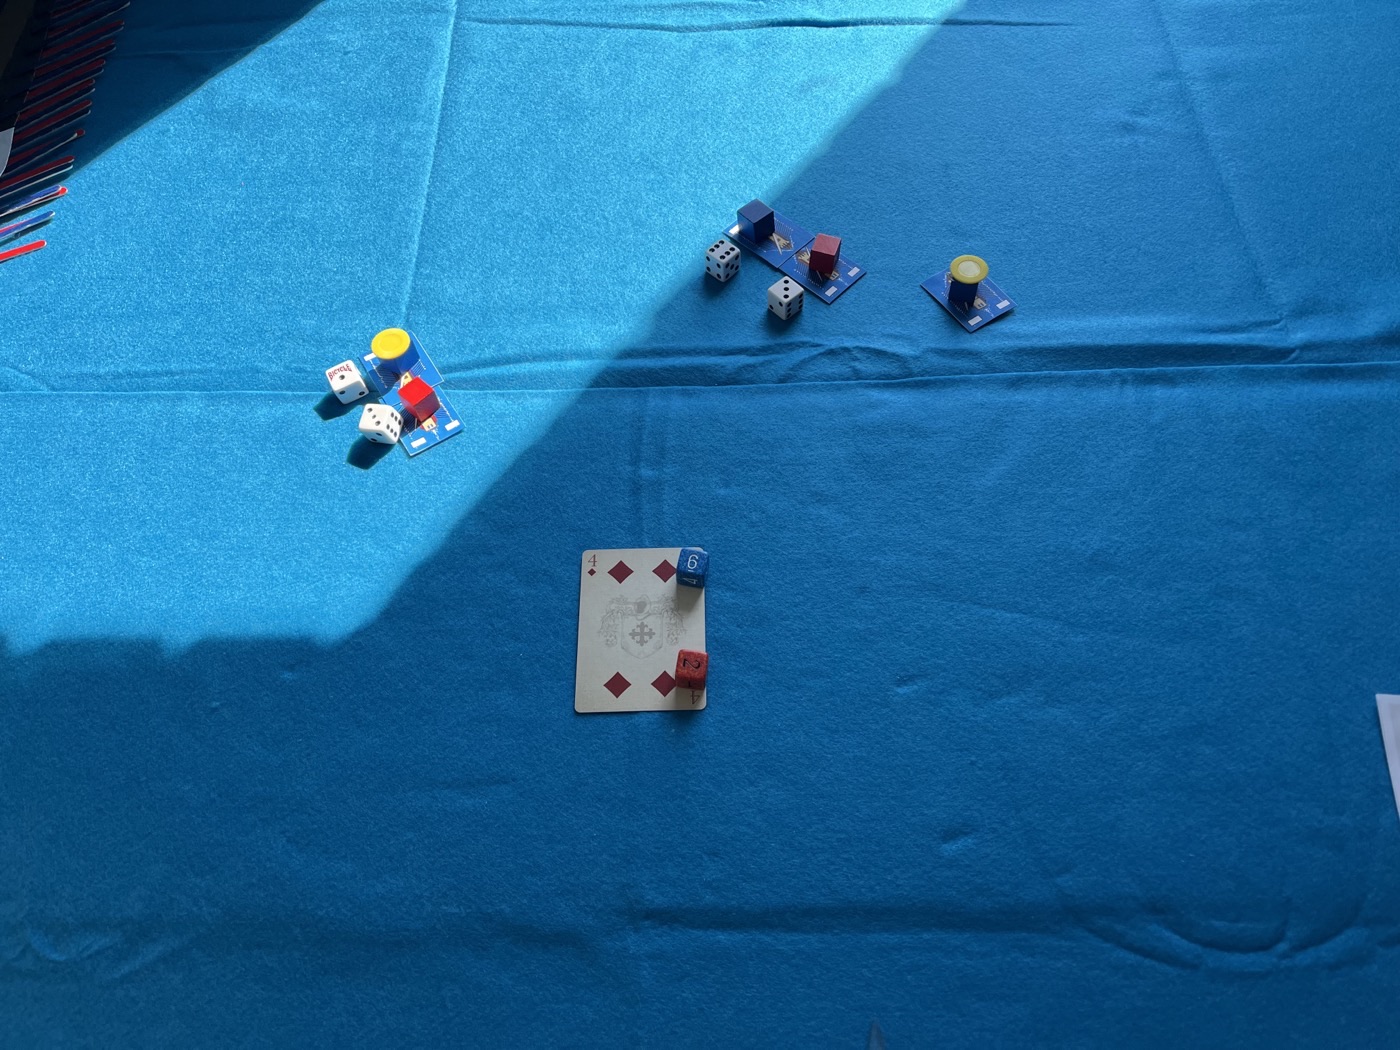
As ships came into proximity, I randomized which one they would decide to attack (1-3 left target, 4-6 right target). Small galleys are permitted to make up to three 60 degree rotations per turn during the movement phase provided that they move 1” (1 hex) between each rotation. When two ships come into the same space (hex) all forward momentum ceases. You can see in this picture that I have a die behind each ship that still had some unused movement, however this tracking is unnecessary. There is nothing in the rules to clarify how to resolve 2:1 matchups when all can come into contact. If two friendly ships were to enter the same space, a collision is possible but that did not come up.
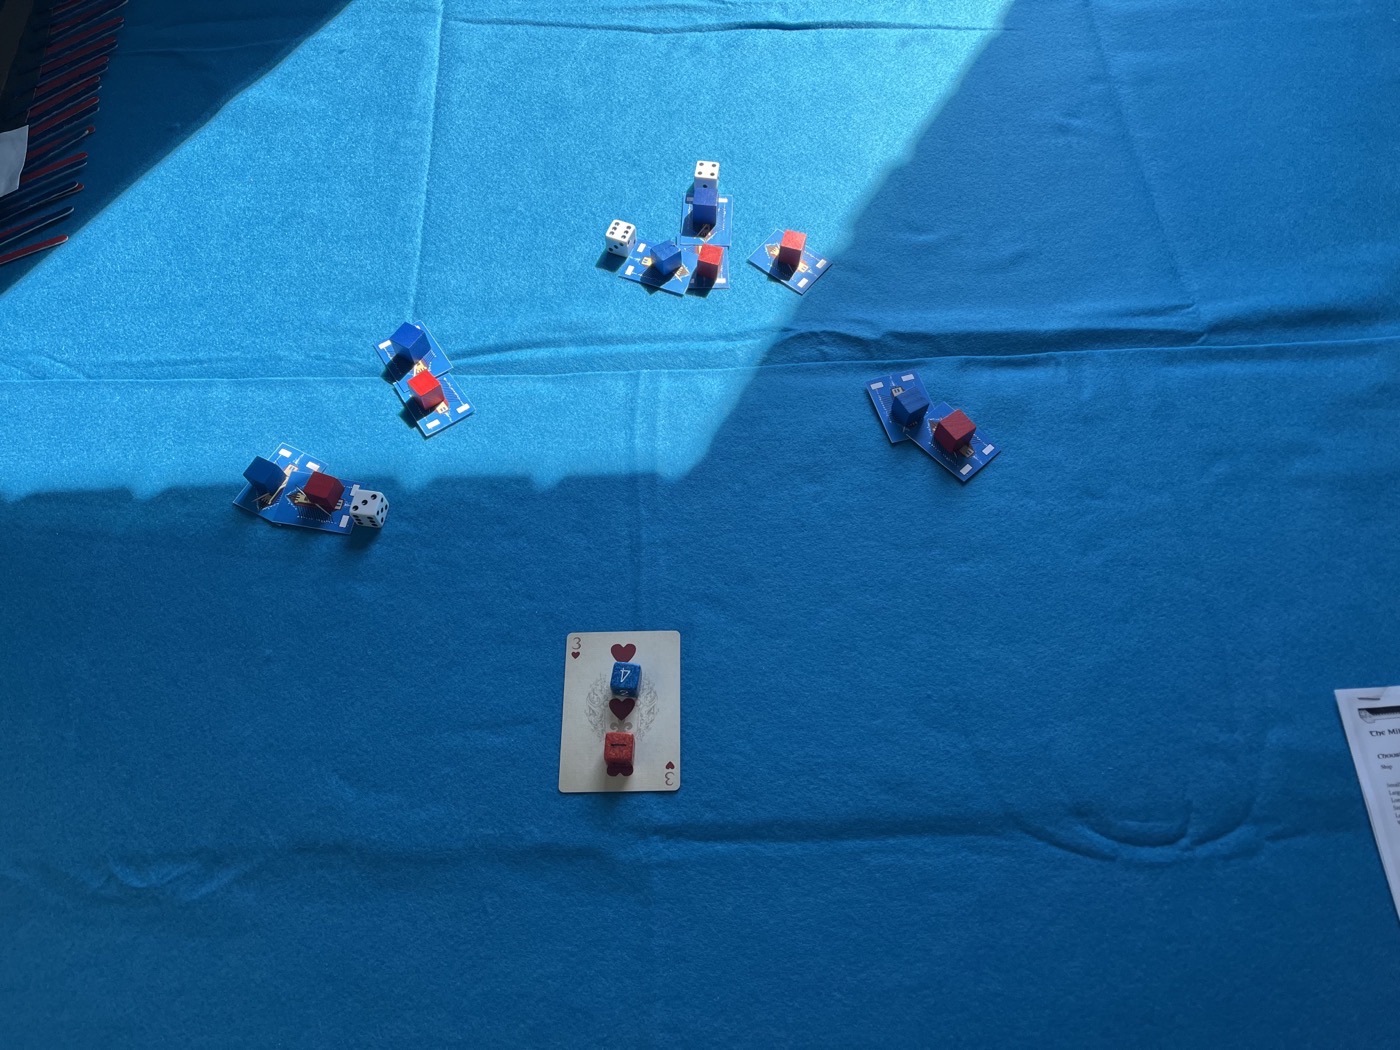
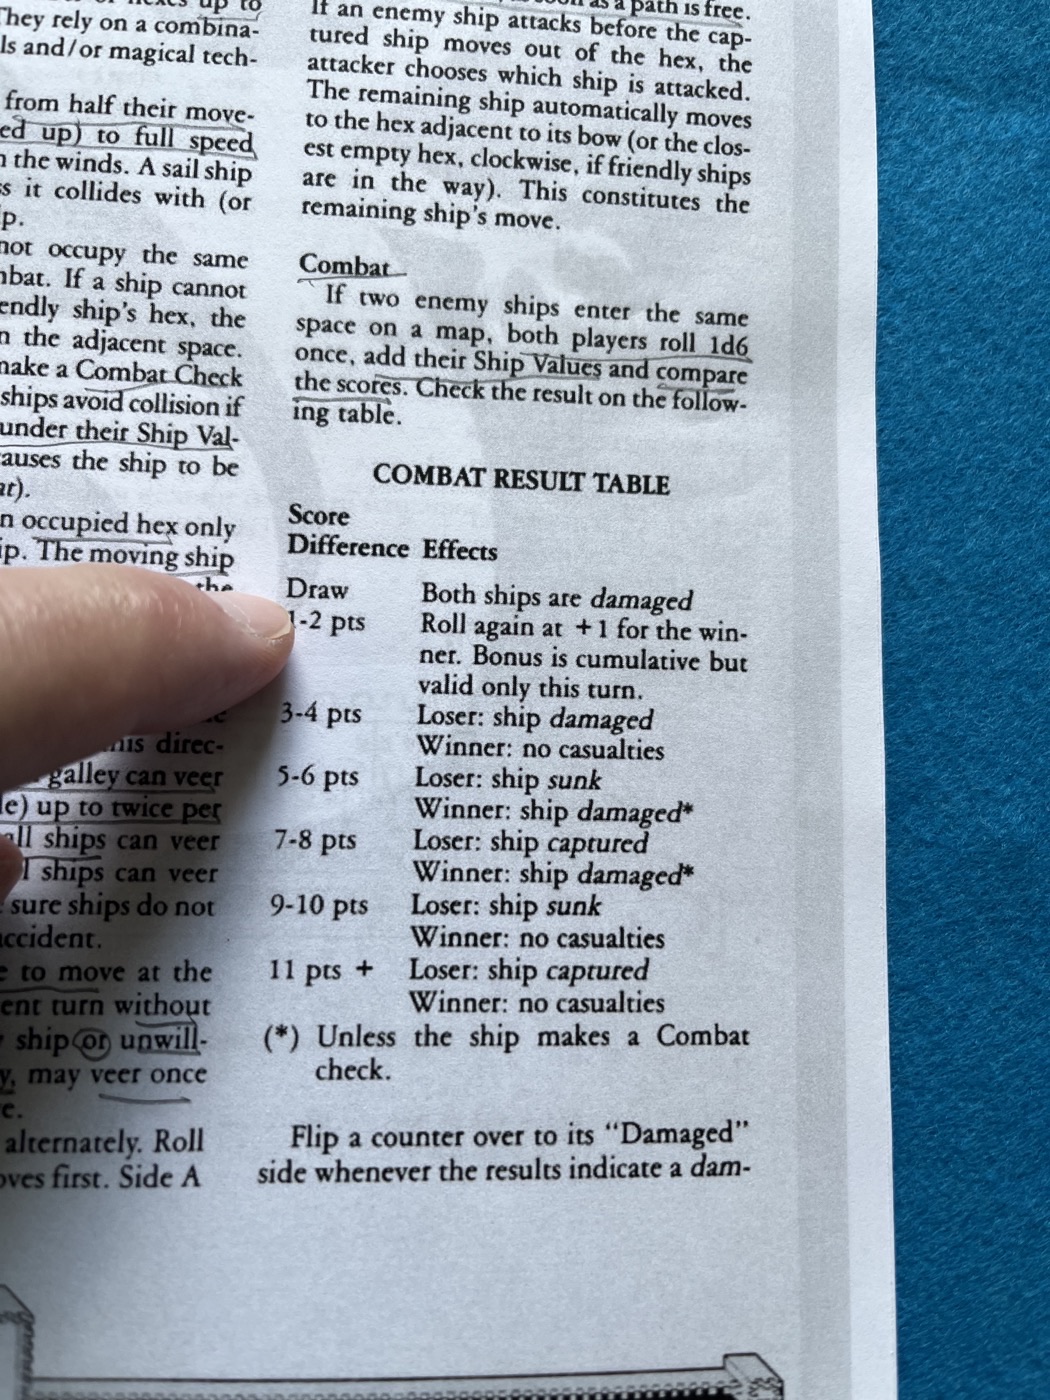
Combat is resolved by rolling 1d6 and adding it to the Ship Value (SV) for each combatant. The number of pips difference between the two combatants determines the combat result. A mere difference of 1 or 2 pips causes a second round of “combat” which is completely abstract and includes artillery and missile fire, shearing oars, ramming, grappling, boarding, etc.
The First Casualty
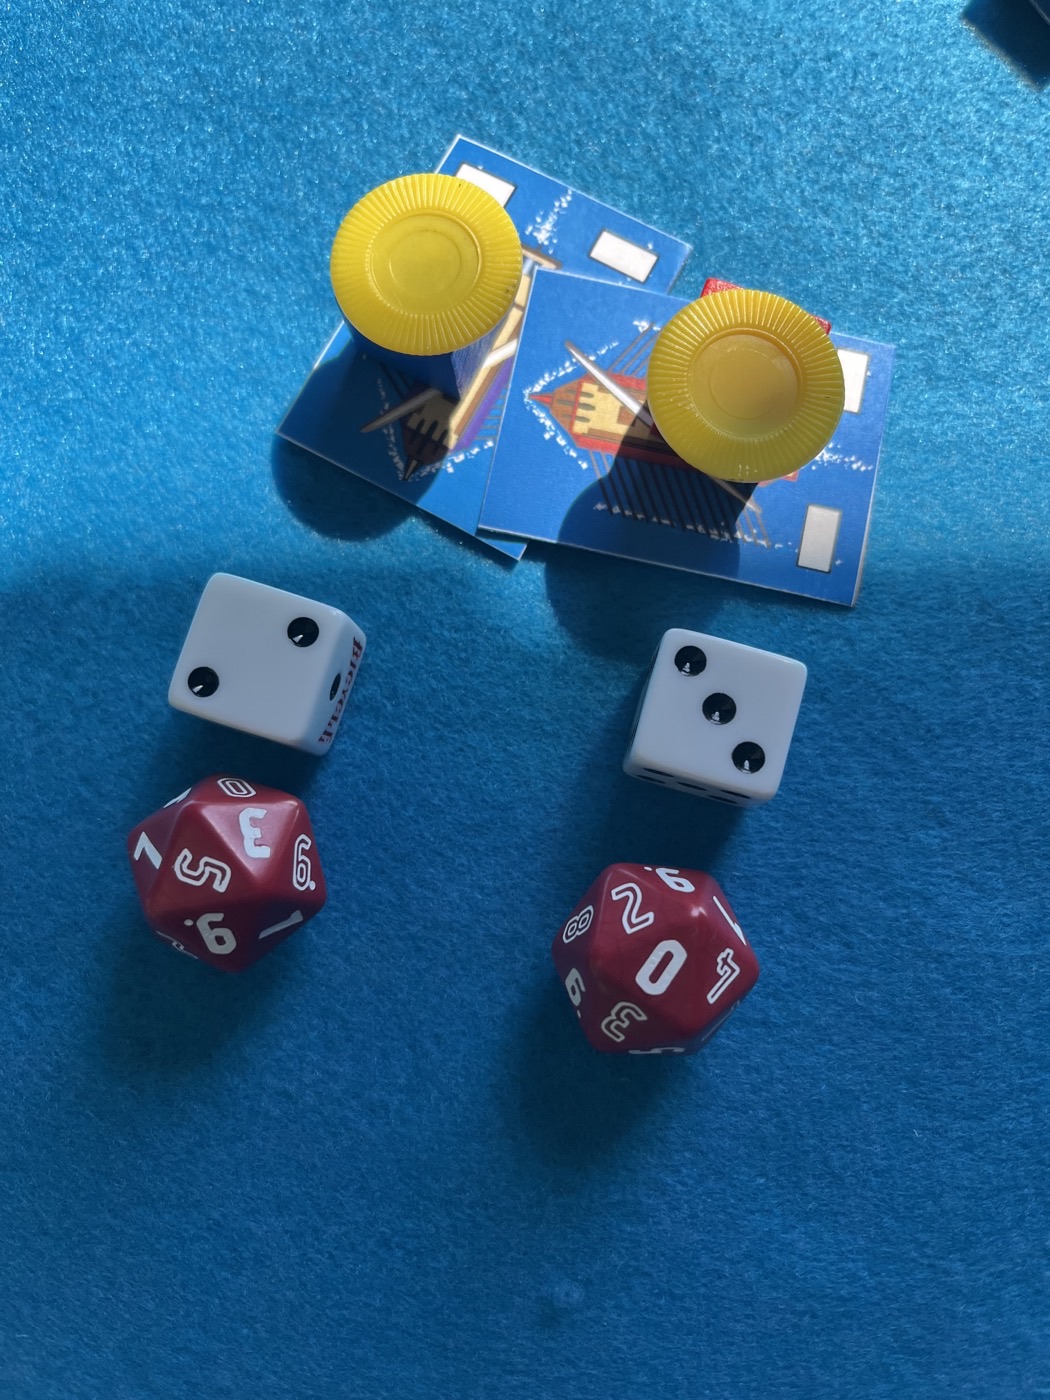
Looking at the combat furthest to the right, blue rolled 2 and red rolled 4. This is a difference of 2 pips meaning both ships were damaged (yellow chips) and must roll again with red getting a +1 to the second roll.
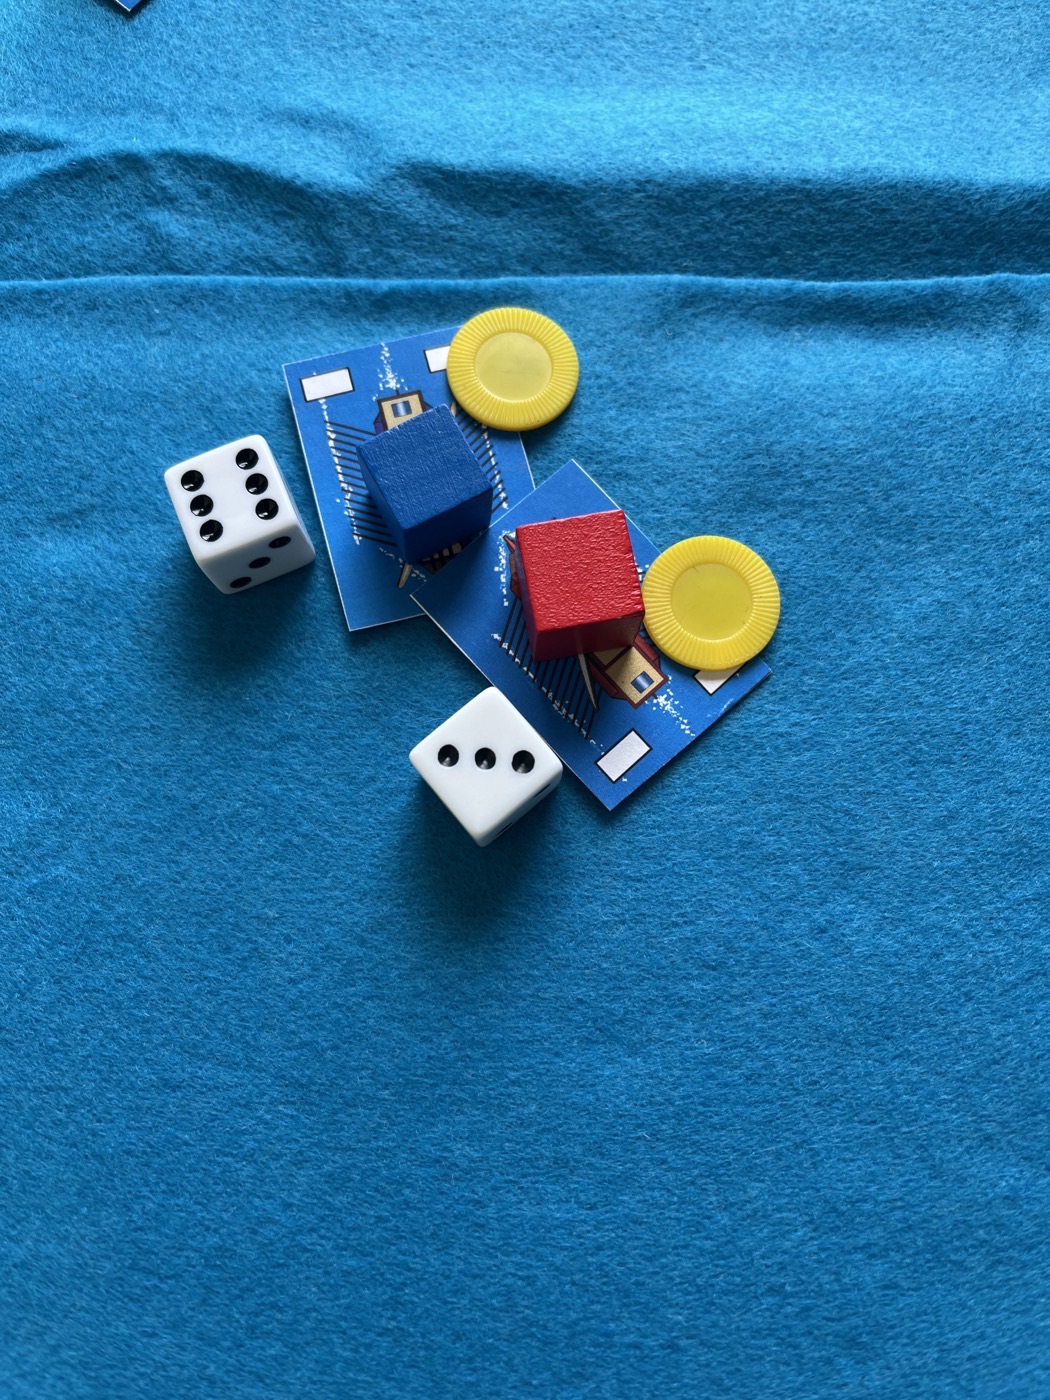
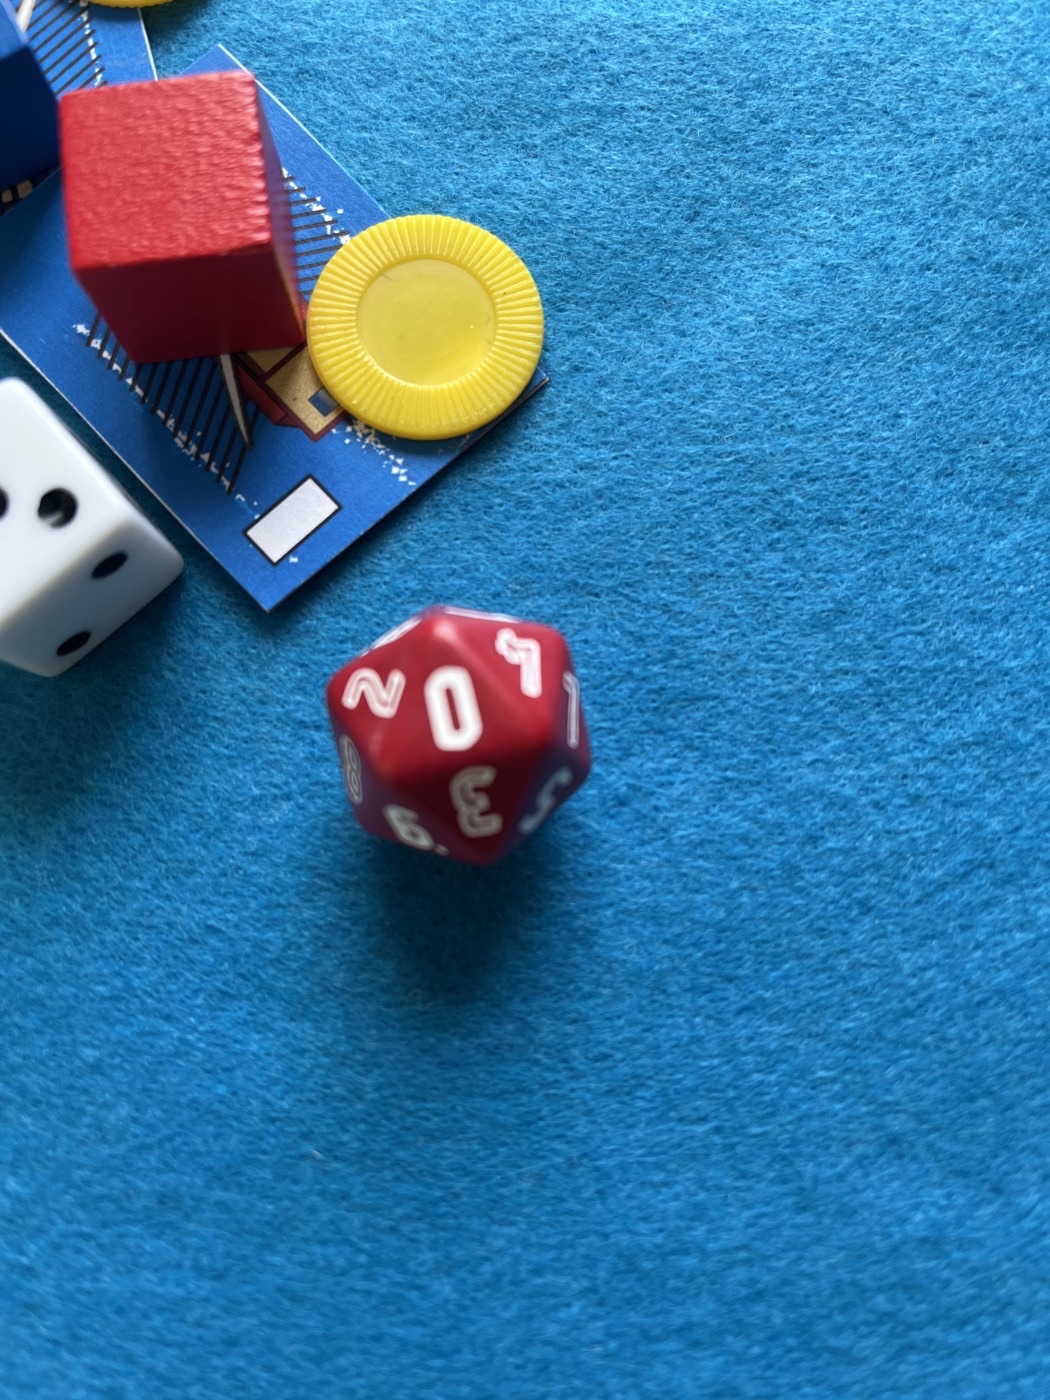
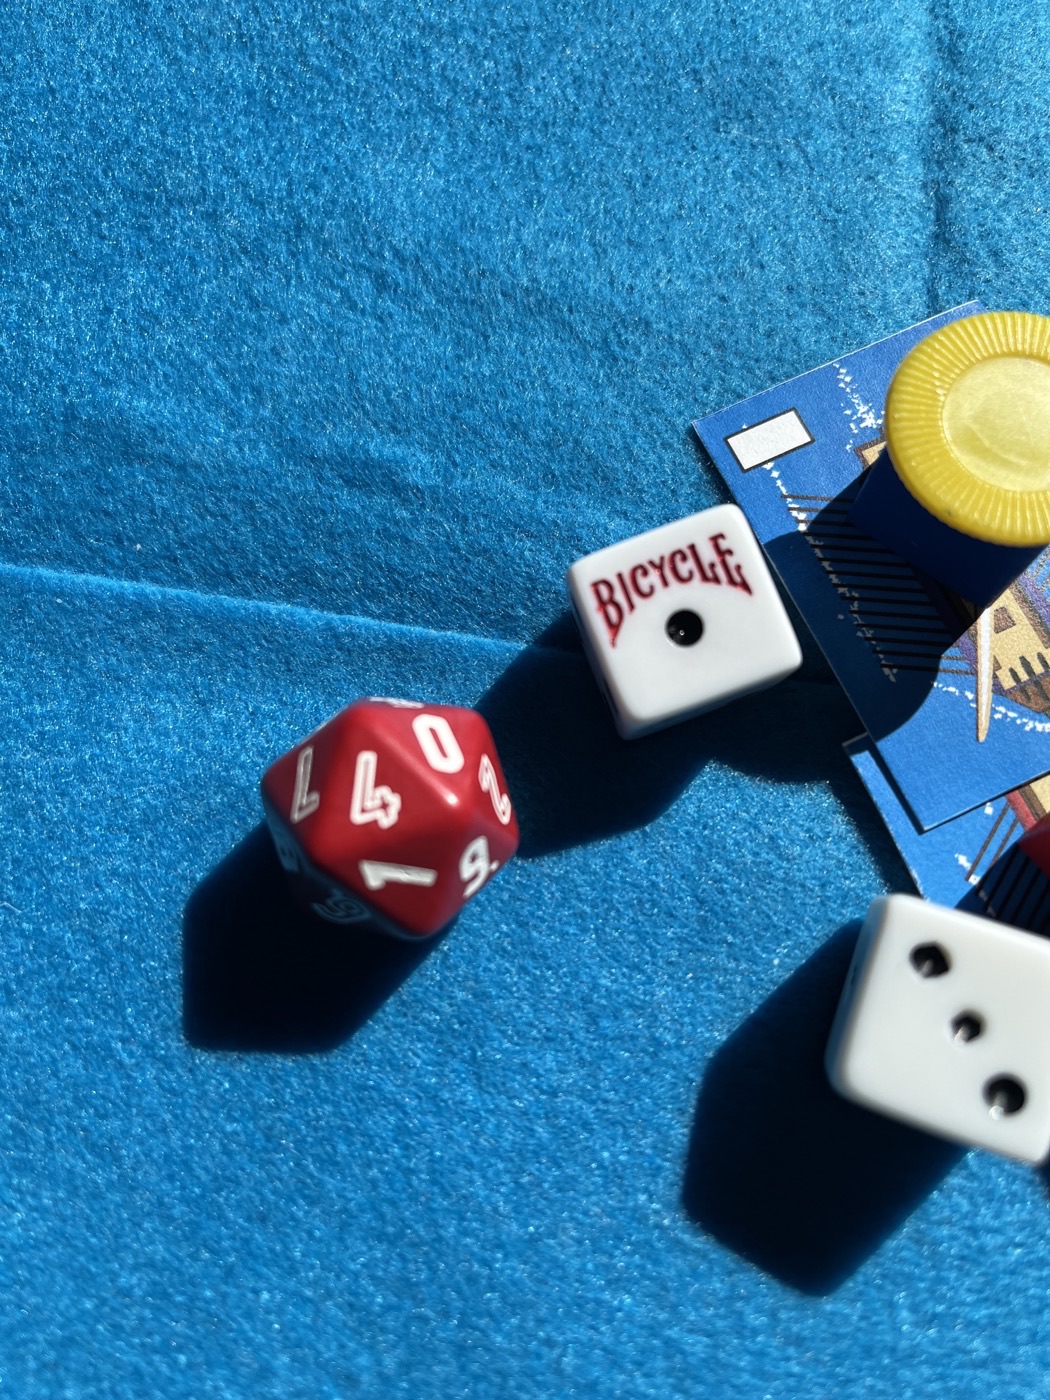
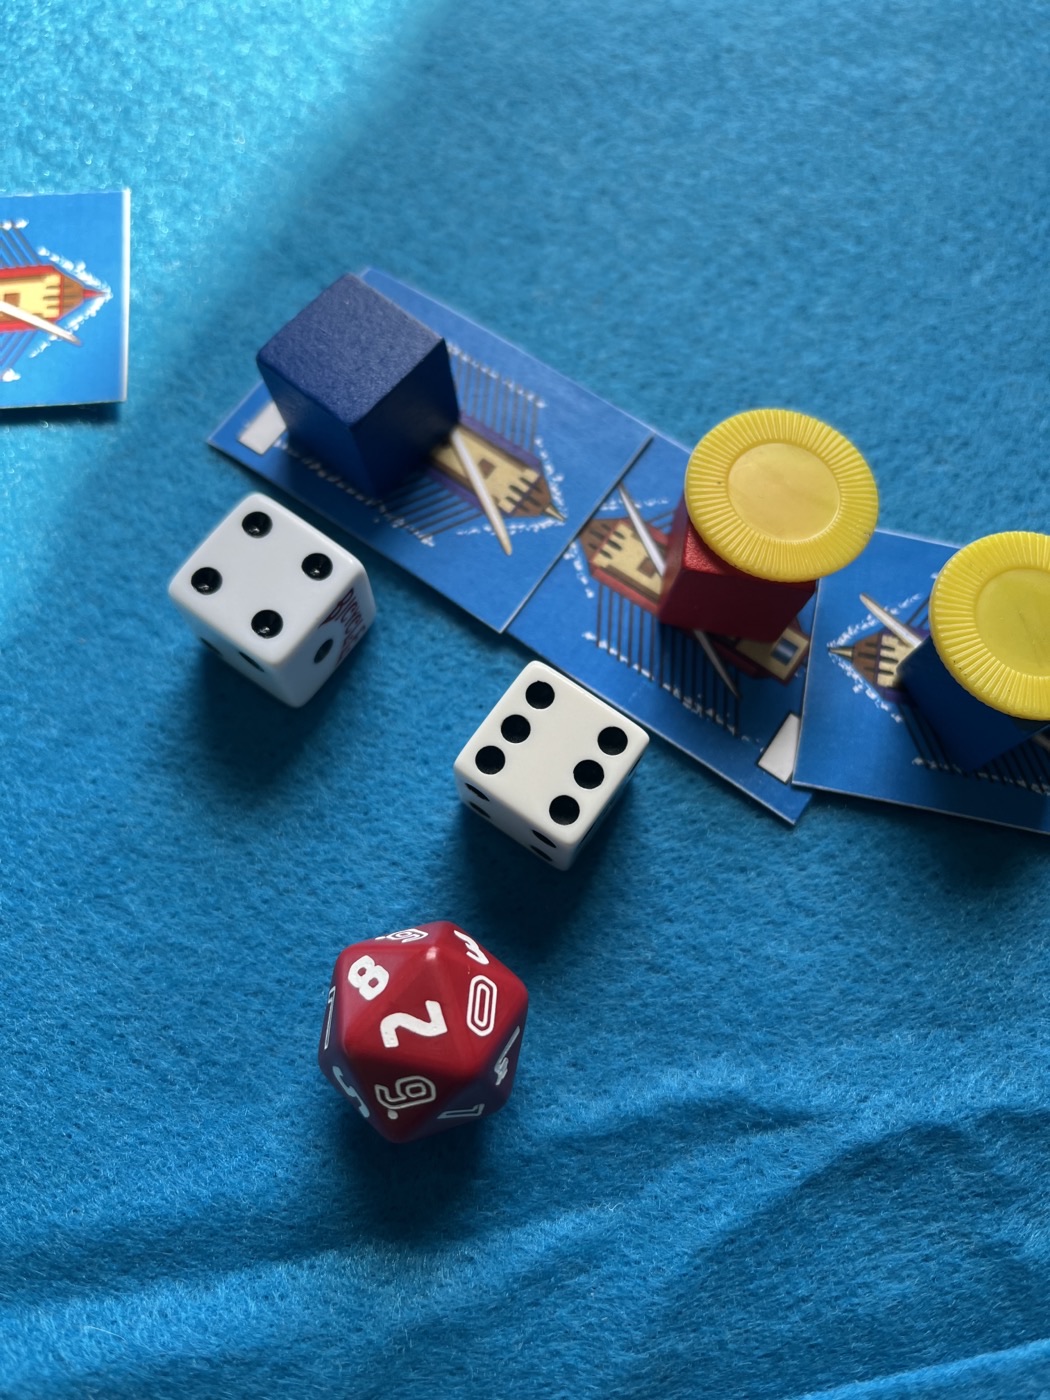
The second roll had a difference of 3 pips to blue’s advantage. The losing ship (red) was damaged a second time which means that it sank. Blue received no additional damage and wins this match up. A rule toward the end of the booklet says that there is a 1-in-10 chance that a ship that was sunk is salvageable. I whipped out a special twenty-sider (0 through 9 twice over) to check. I rolled a 0 = 10. No prize to salvage this time!
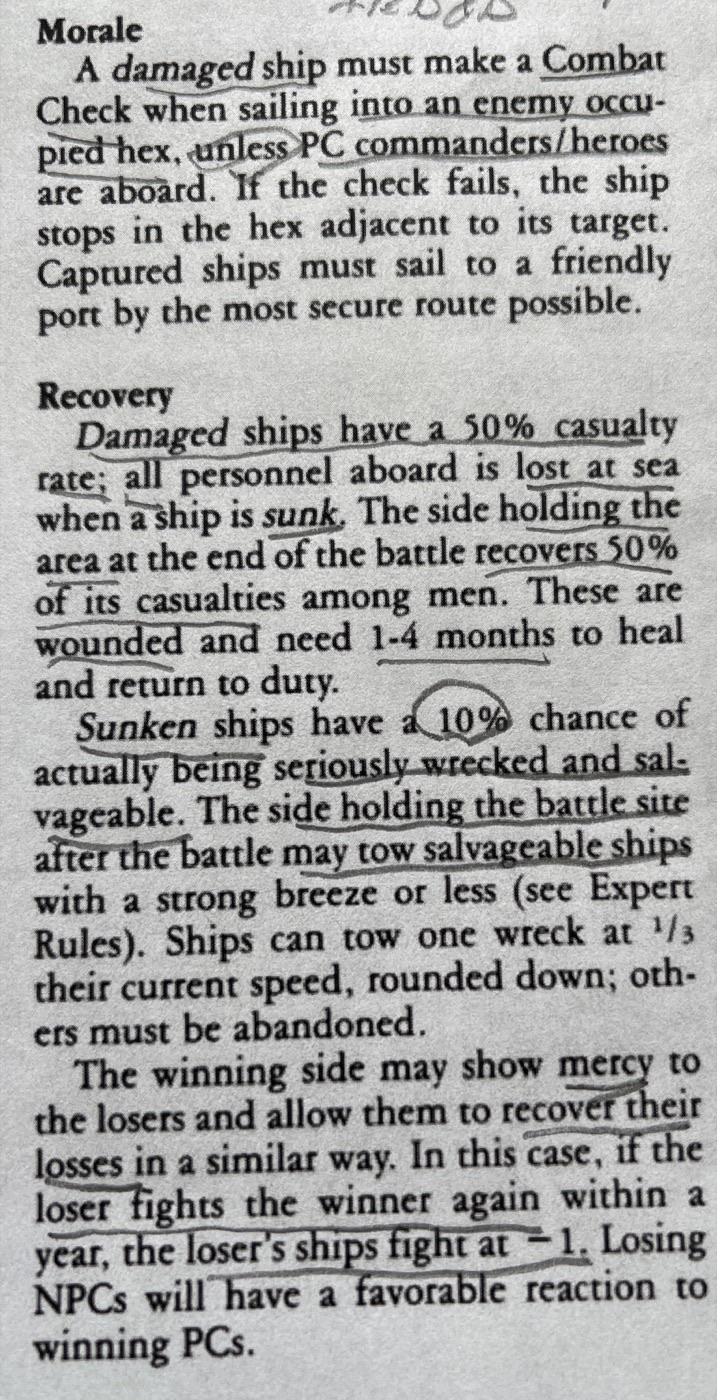
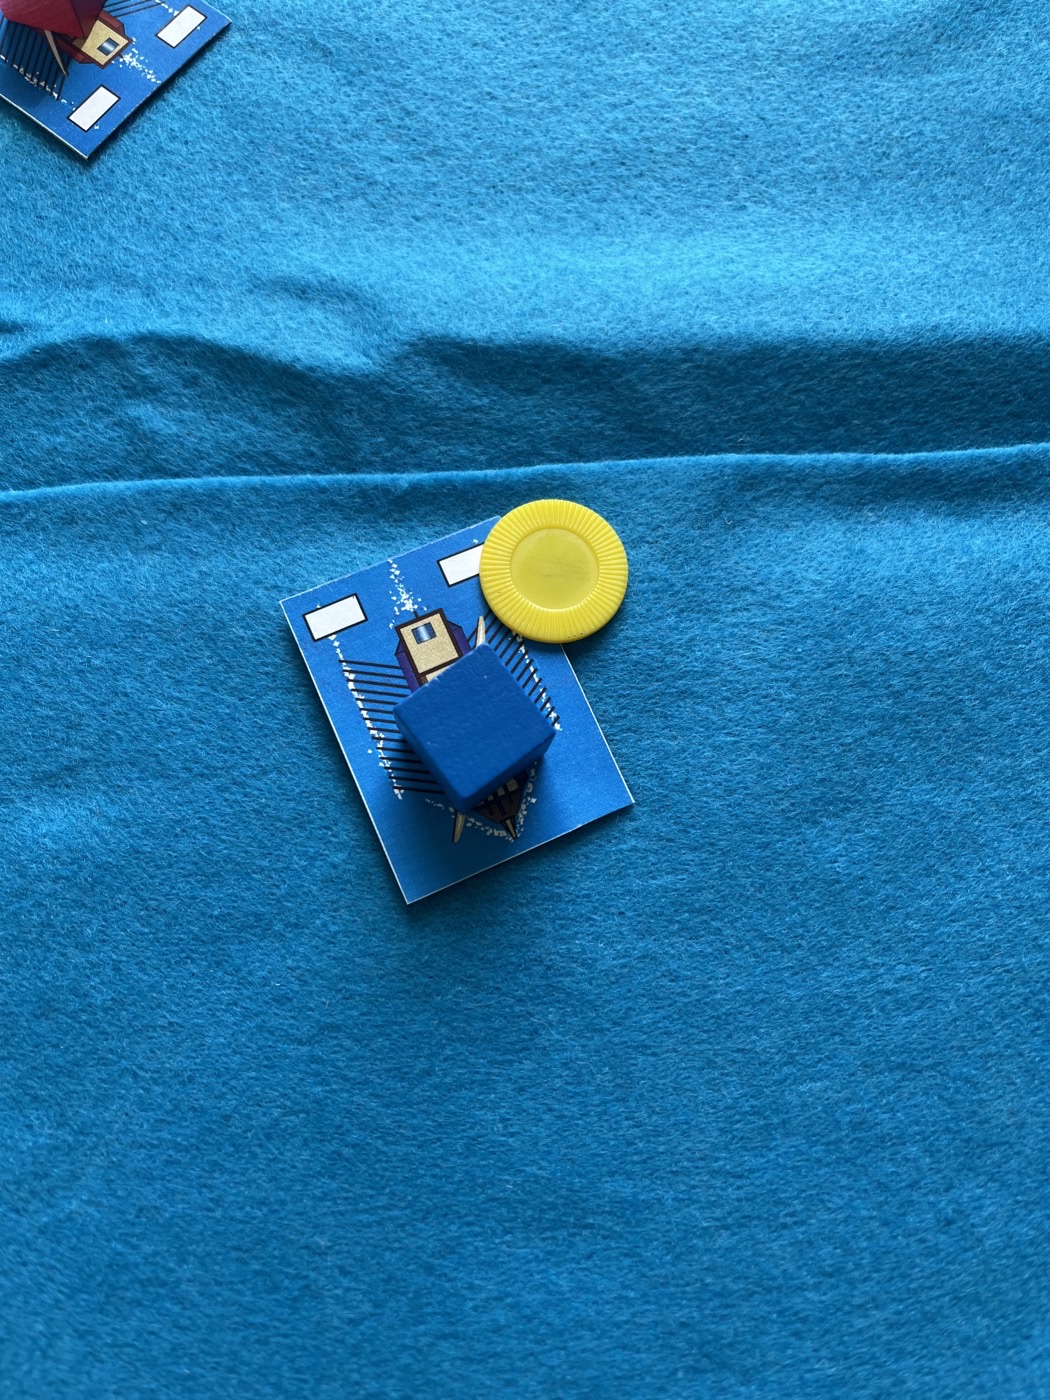
The blue ship survives but will need to make a morale roll / combat check (2d6 roll under ship value) to re-enter combat. This will be a tough roll to make since this blue ship now has SV = 3 (half its previous ship value).
Fast Resolution
Another pair of ships also have a single pip difference during their first roll. During the second roll, both ships are again damaged and thus sink. Neither are salvageable. At 10,000 gp per small galley, and each triaconter having 30 seamen, 12 marines, 6 sailors, 4 catapult crew, a Sea Captain and his two lieutenants (see OD&D) this is a startlingly fast way to lose a lot of blood and treasure. This was just 3 sets of dice rolls.
Locked in Combat
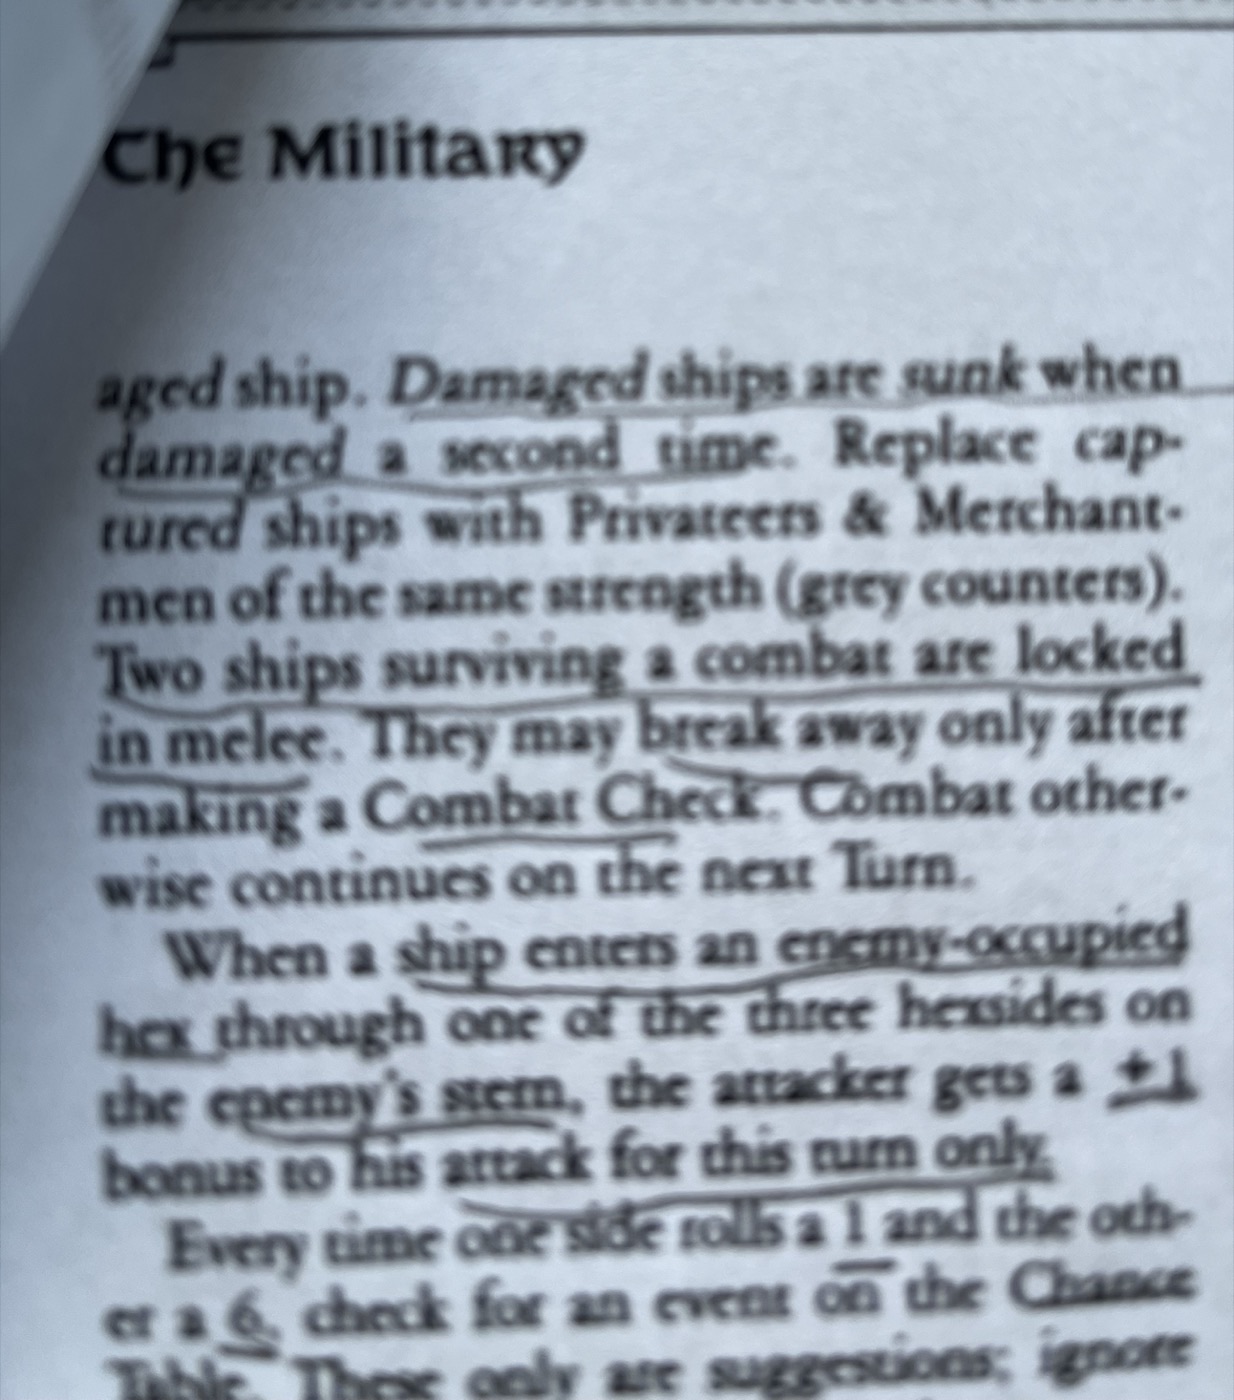
As the battle progressed, the odds stacked up against one side. Unfortunately, it is not easy to break off from battle once your ship is damaged and cut down to SV = 3.
Oh My
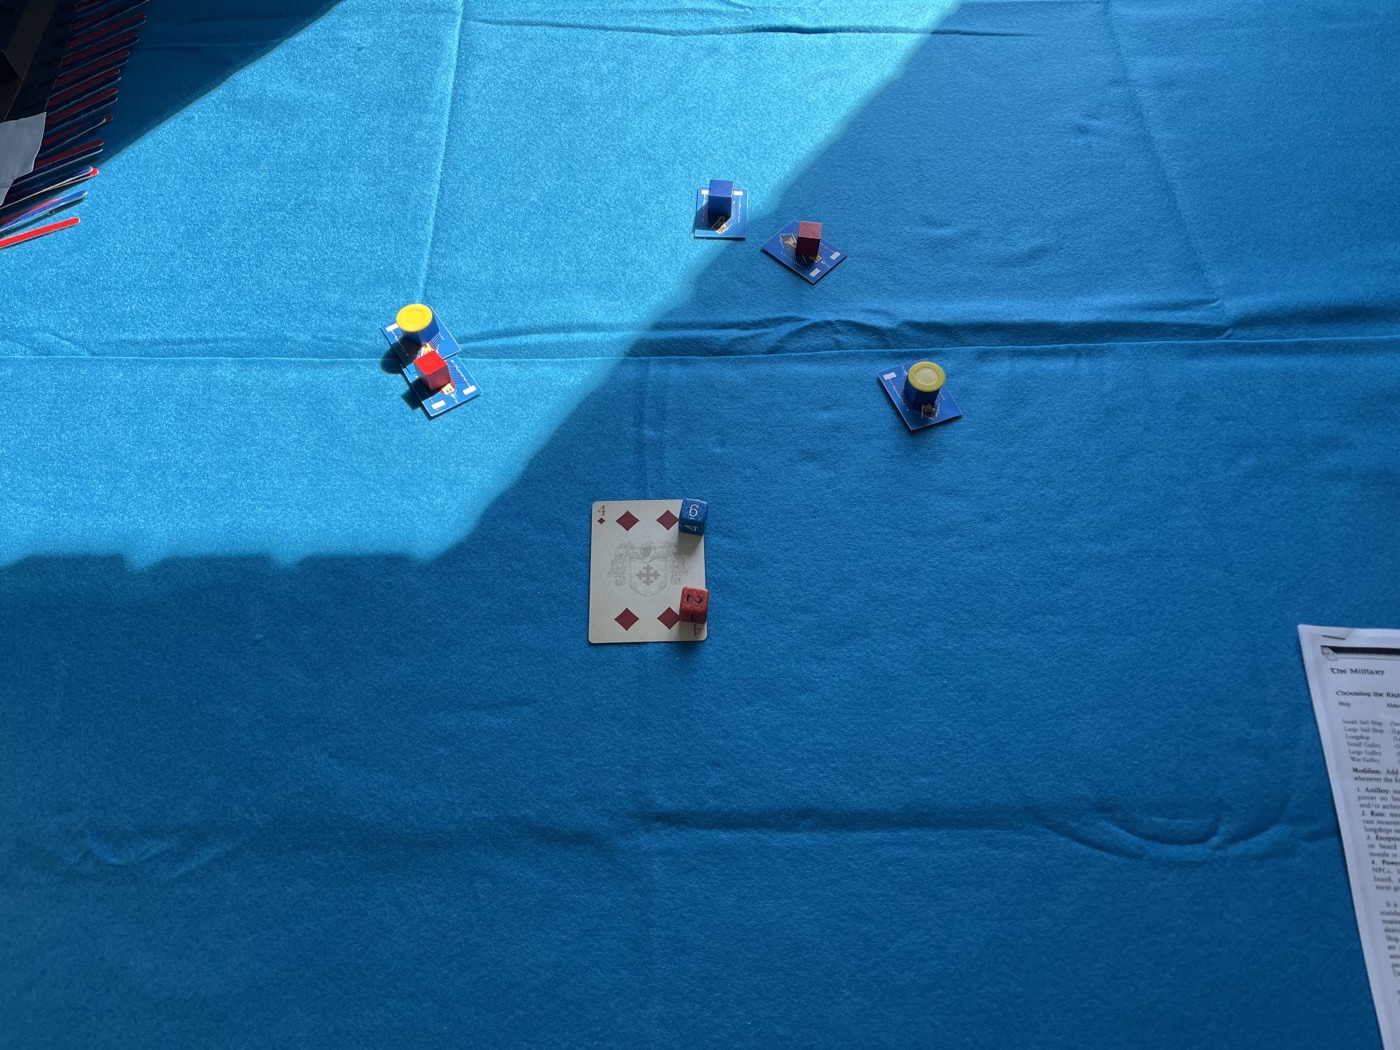
As turn 4 begins, two ships are locked in combat (blue could not make the combat check since the ship was damaged). Red has 2 undamaged ships. Blue has 1 undamaged ship and 2 damaged ships. Blue wins the “initiative” and gets to pick a ship to move first. Since there is very little chance to get the damaged blue ship to turn and then make a combat check to re-engage, the only choice was to move the undamaged blue ship. Besides, if the central blue ship sails on by and red managed to attack it from the rear, red would get a +1 advantage. There seems to be no way for blue to just disengage.
To Glory We Steer
Blue’s luck seems to hold out, even though his ship on the left side of the battle is sunk.
Turn 5
Blue wins the “initiative” roll again and I forget to make the combat check when bringing the damaged blue ship into contact with the stern of the red ship.
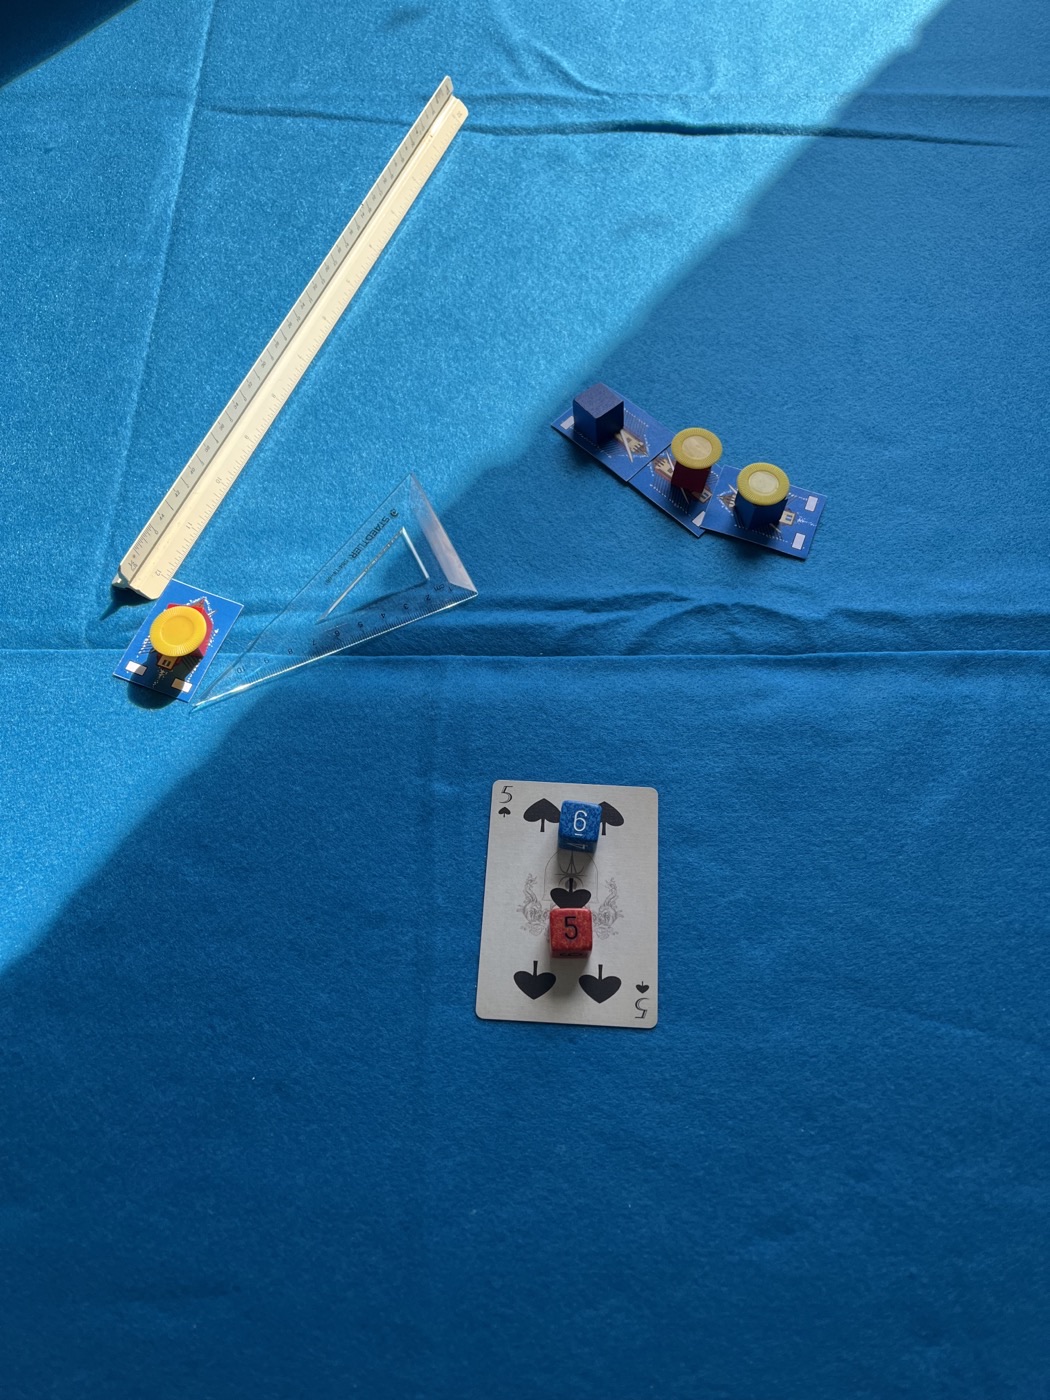
The error does not matter. I roll for the bow-to-bow battle first and the result is that the red ship and blue ship are both damaged. This sinks red and I once again roll that the ship is truly sunk.
Escape
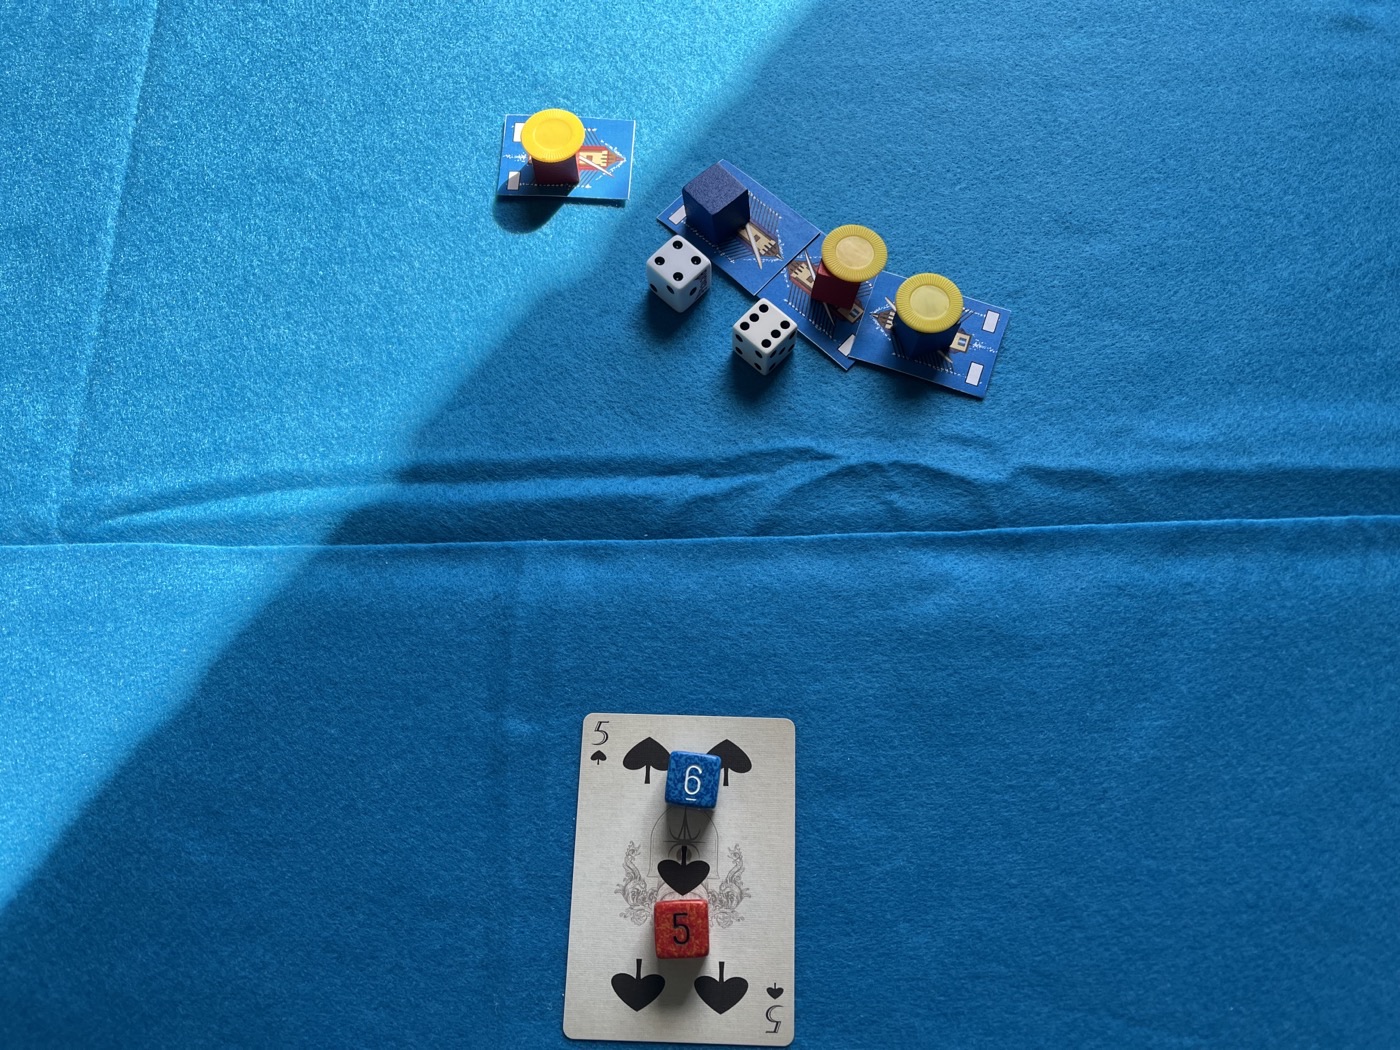
At this point, red takes advantage of blue’s orientation and makes a run for the edge of the table. Red is able to do this despite blue having the “initiative” and due to making the correct rotation angle (quite good seamanship!) red is able to make his escape.
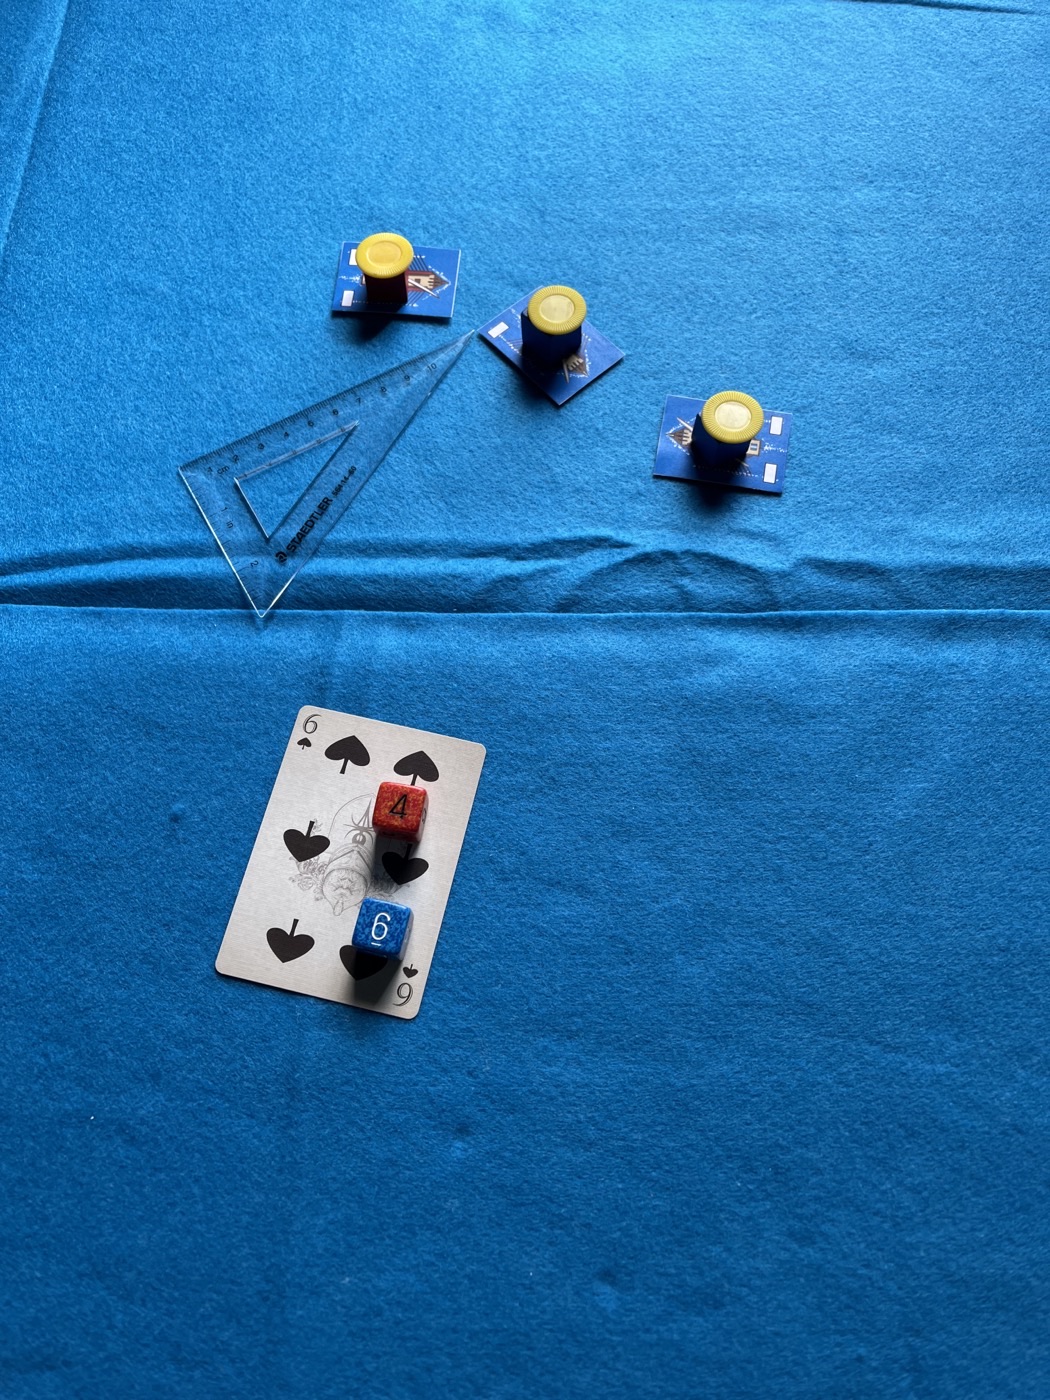
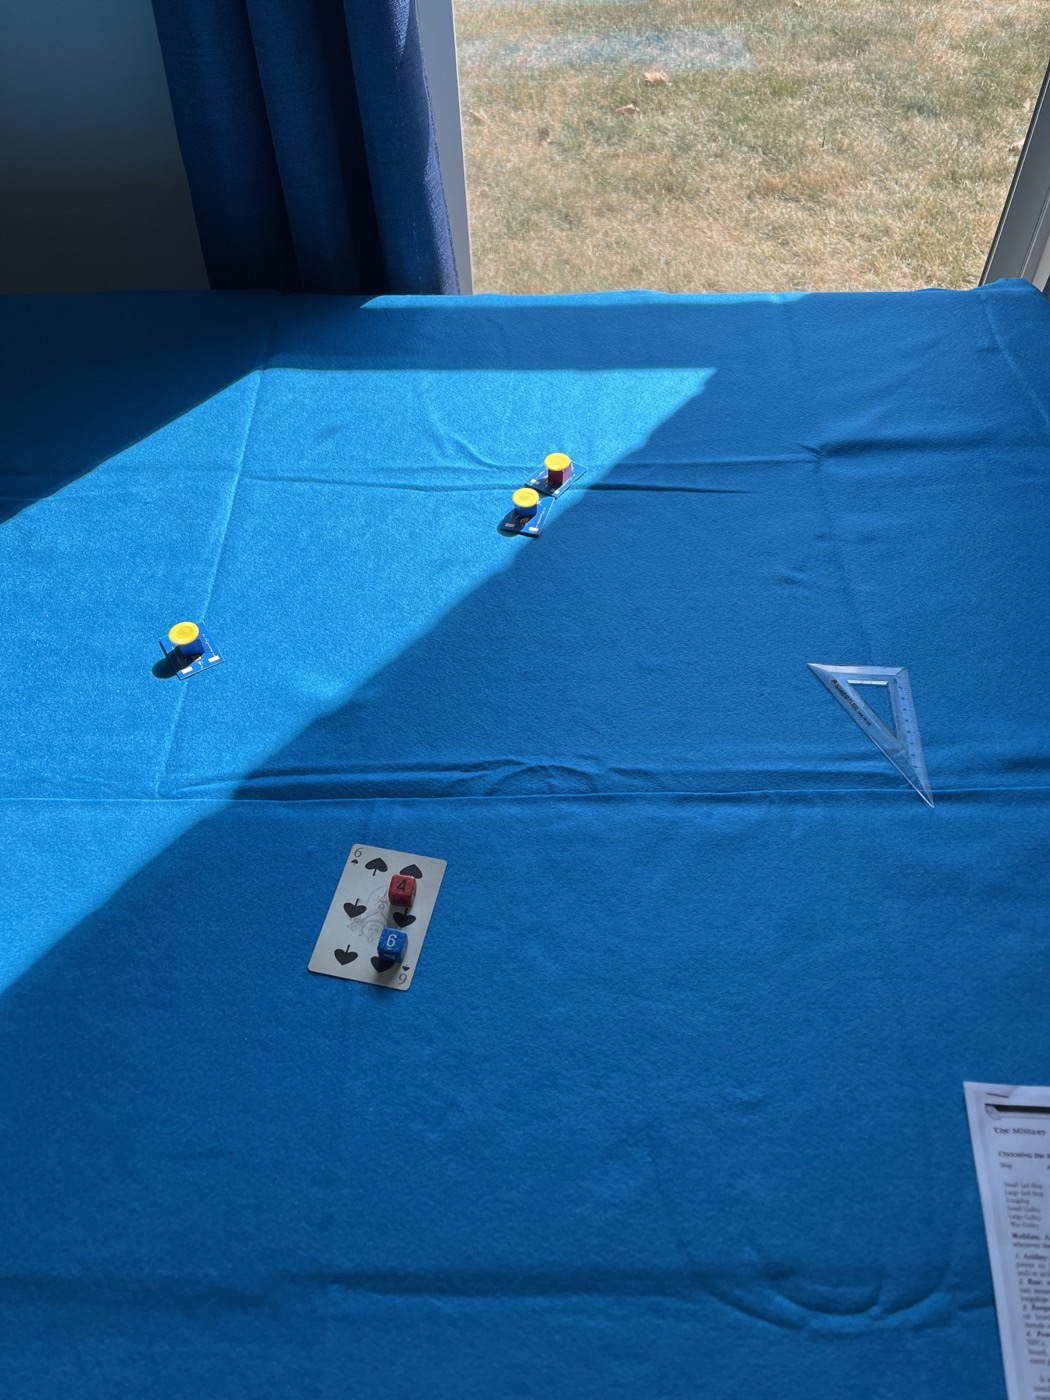
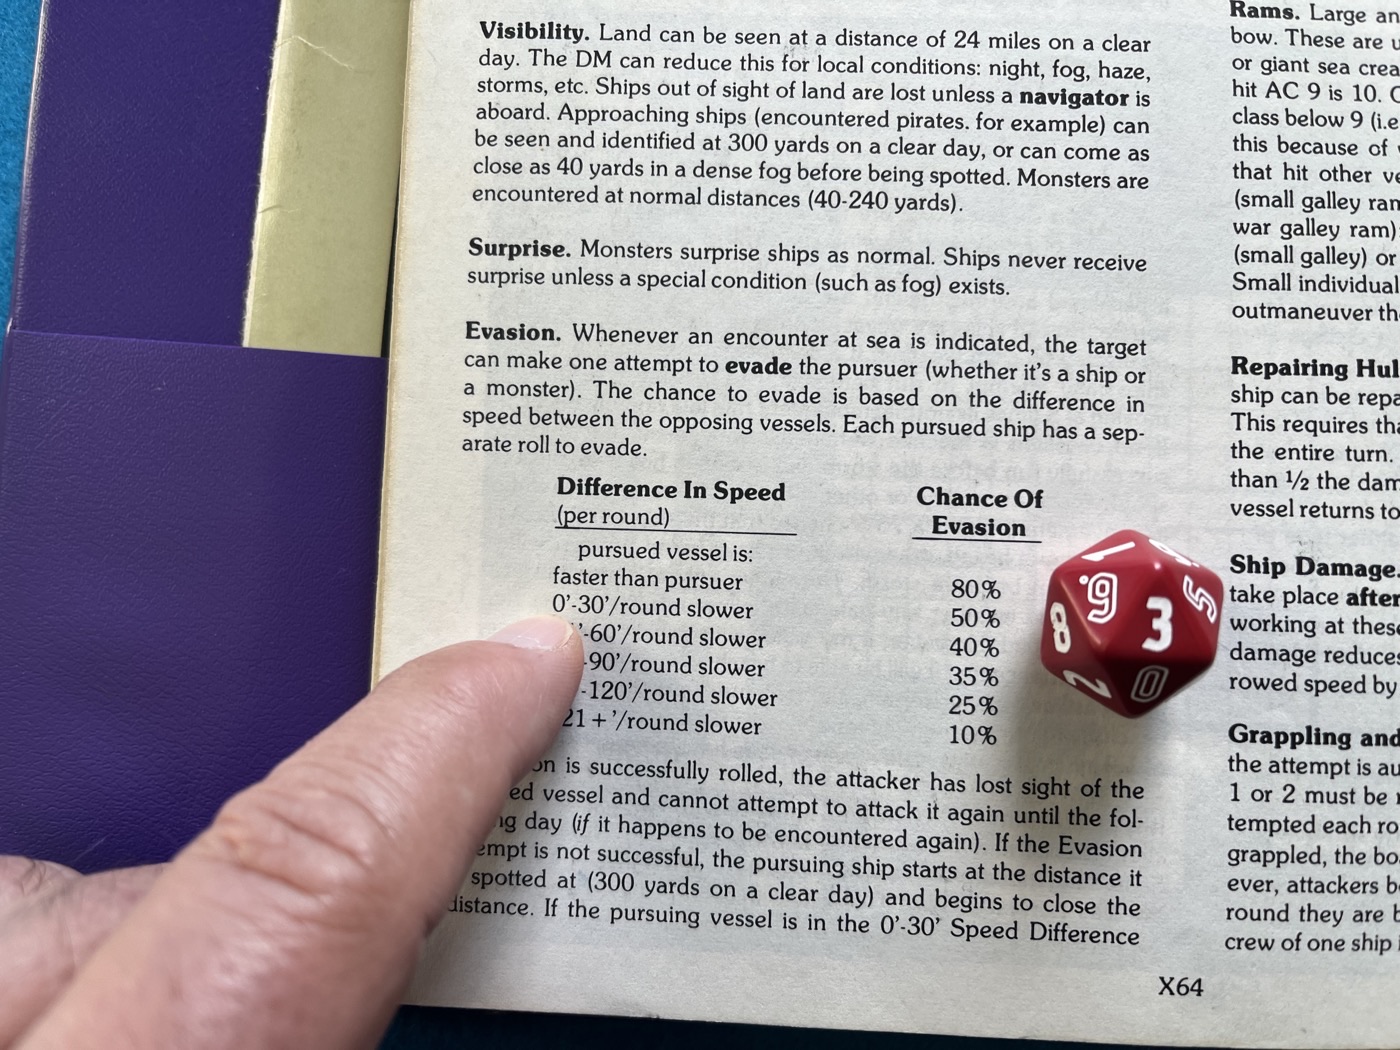
At this point I revert to using the Expert rules to see if red slips away completely. I roll 2d6 to find the wind condition: Strong Breeze. Given the difference in speed is zero (all ships are damaged), red had a 5-in-10 chance of escape. I rolled a 3. Red truly escapes.
Davy Jones’ Locker
In 6 turns spanning 52 minutes (3:02pm - 3:54pm), seven ships went to the bottom. If you want a way to drain money out of your characters’ pockets (or factions’ treasuries), this is highly efficient. It makes magical research and castle construction / sieges look like small budget movies next to a summer blockbuster.
Caveat Emptor
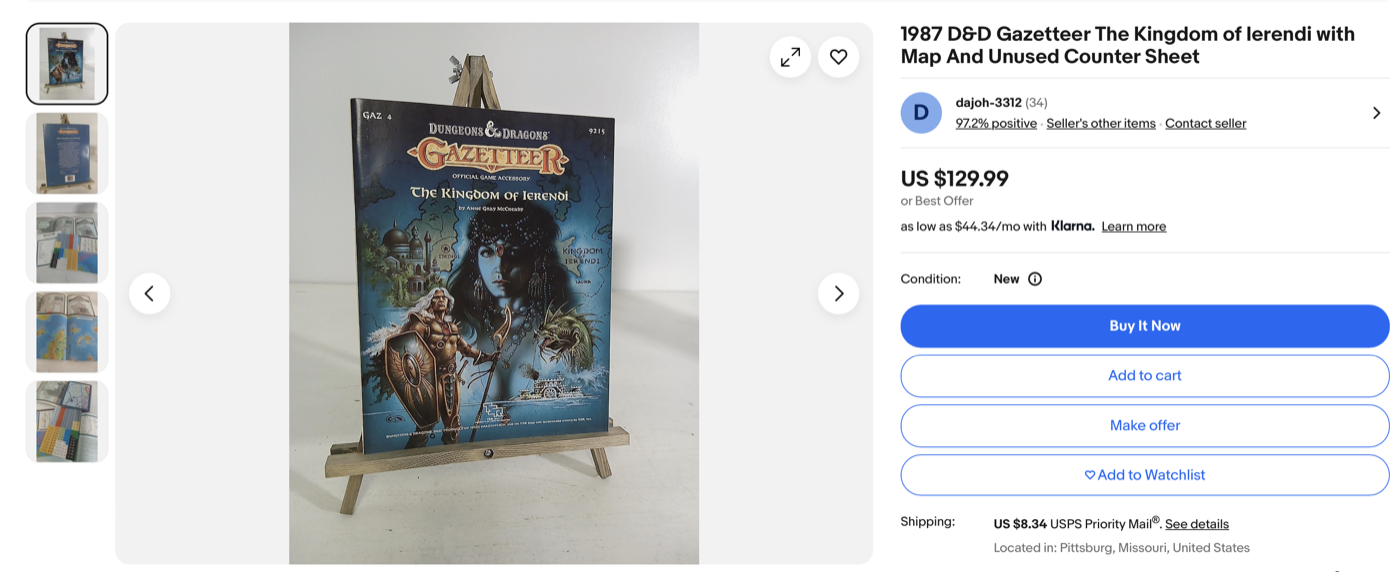
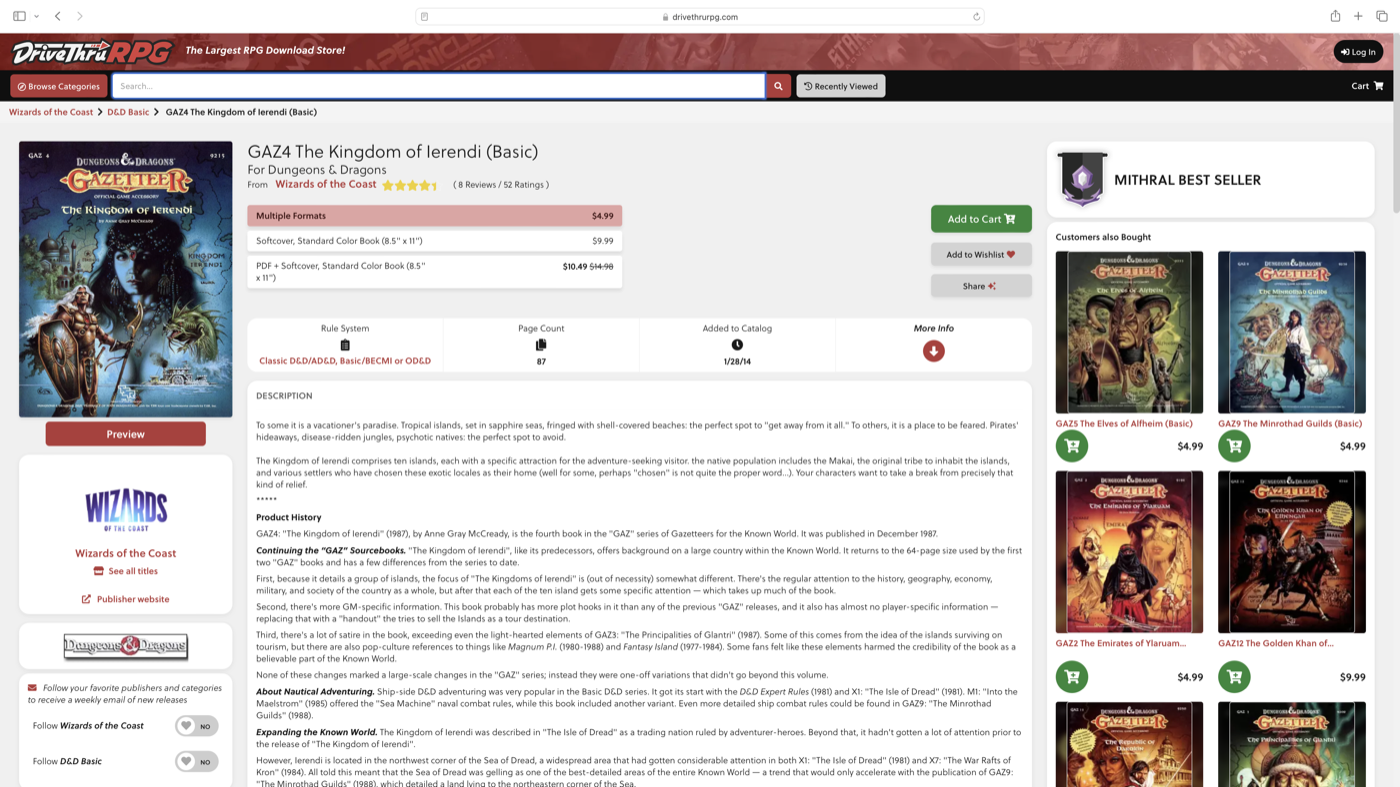
If you are thinking of purchasing a print on demand copy of GAZ 4: The Kingdom of Ierendi via DriveThruRPG, the maps and the counter sheets are MIA or unusable according to the comments. Typical of WOTC, there are no replies to these criticisms. Still, for $5 you can own a legit pdf copy of this module, though I find most of it completely unusable for the style of game world that resonates with me and my players. You could try to find an un-punched original copy on eBay, but it will cost you.
Third-Party Rules
I have temporarily set aside looking at third-party products for anything other than mere inspiration, though I have a copy of several. Ram Speed: Bronze Age Naval Wafare (by Colin Keizer, published by Metagaming in 1980) seems especially lightweight and may be another play through that I do along with Corvus. Waring Fleets: The Game of Fantasy Naval Combat (by Ed Teixeira published by Two Hour Wargames) may also hit the table. At the opposite end of the spectrum, Rolemaster’s Sea Law is far too complex for serious consideration. Ditto Adventures on the High Seas for Palladium Fantasy. There are three or four others, but I’ve already been too pedantic for one day.
Originally published on Substack on September 6, 2025.